
ButtSeqs - 2025
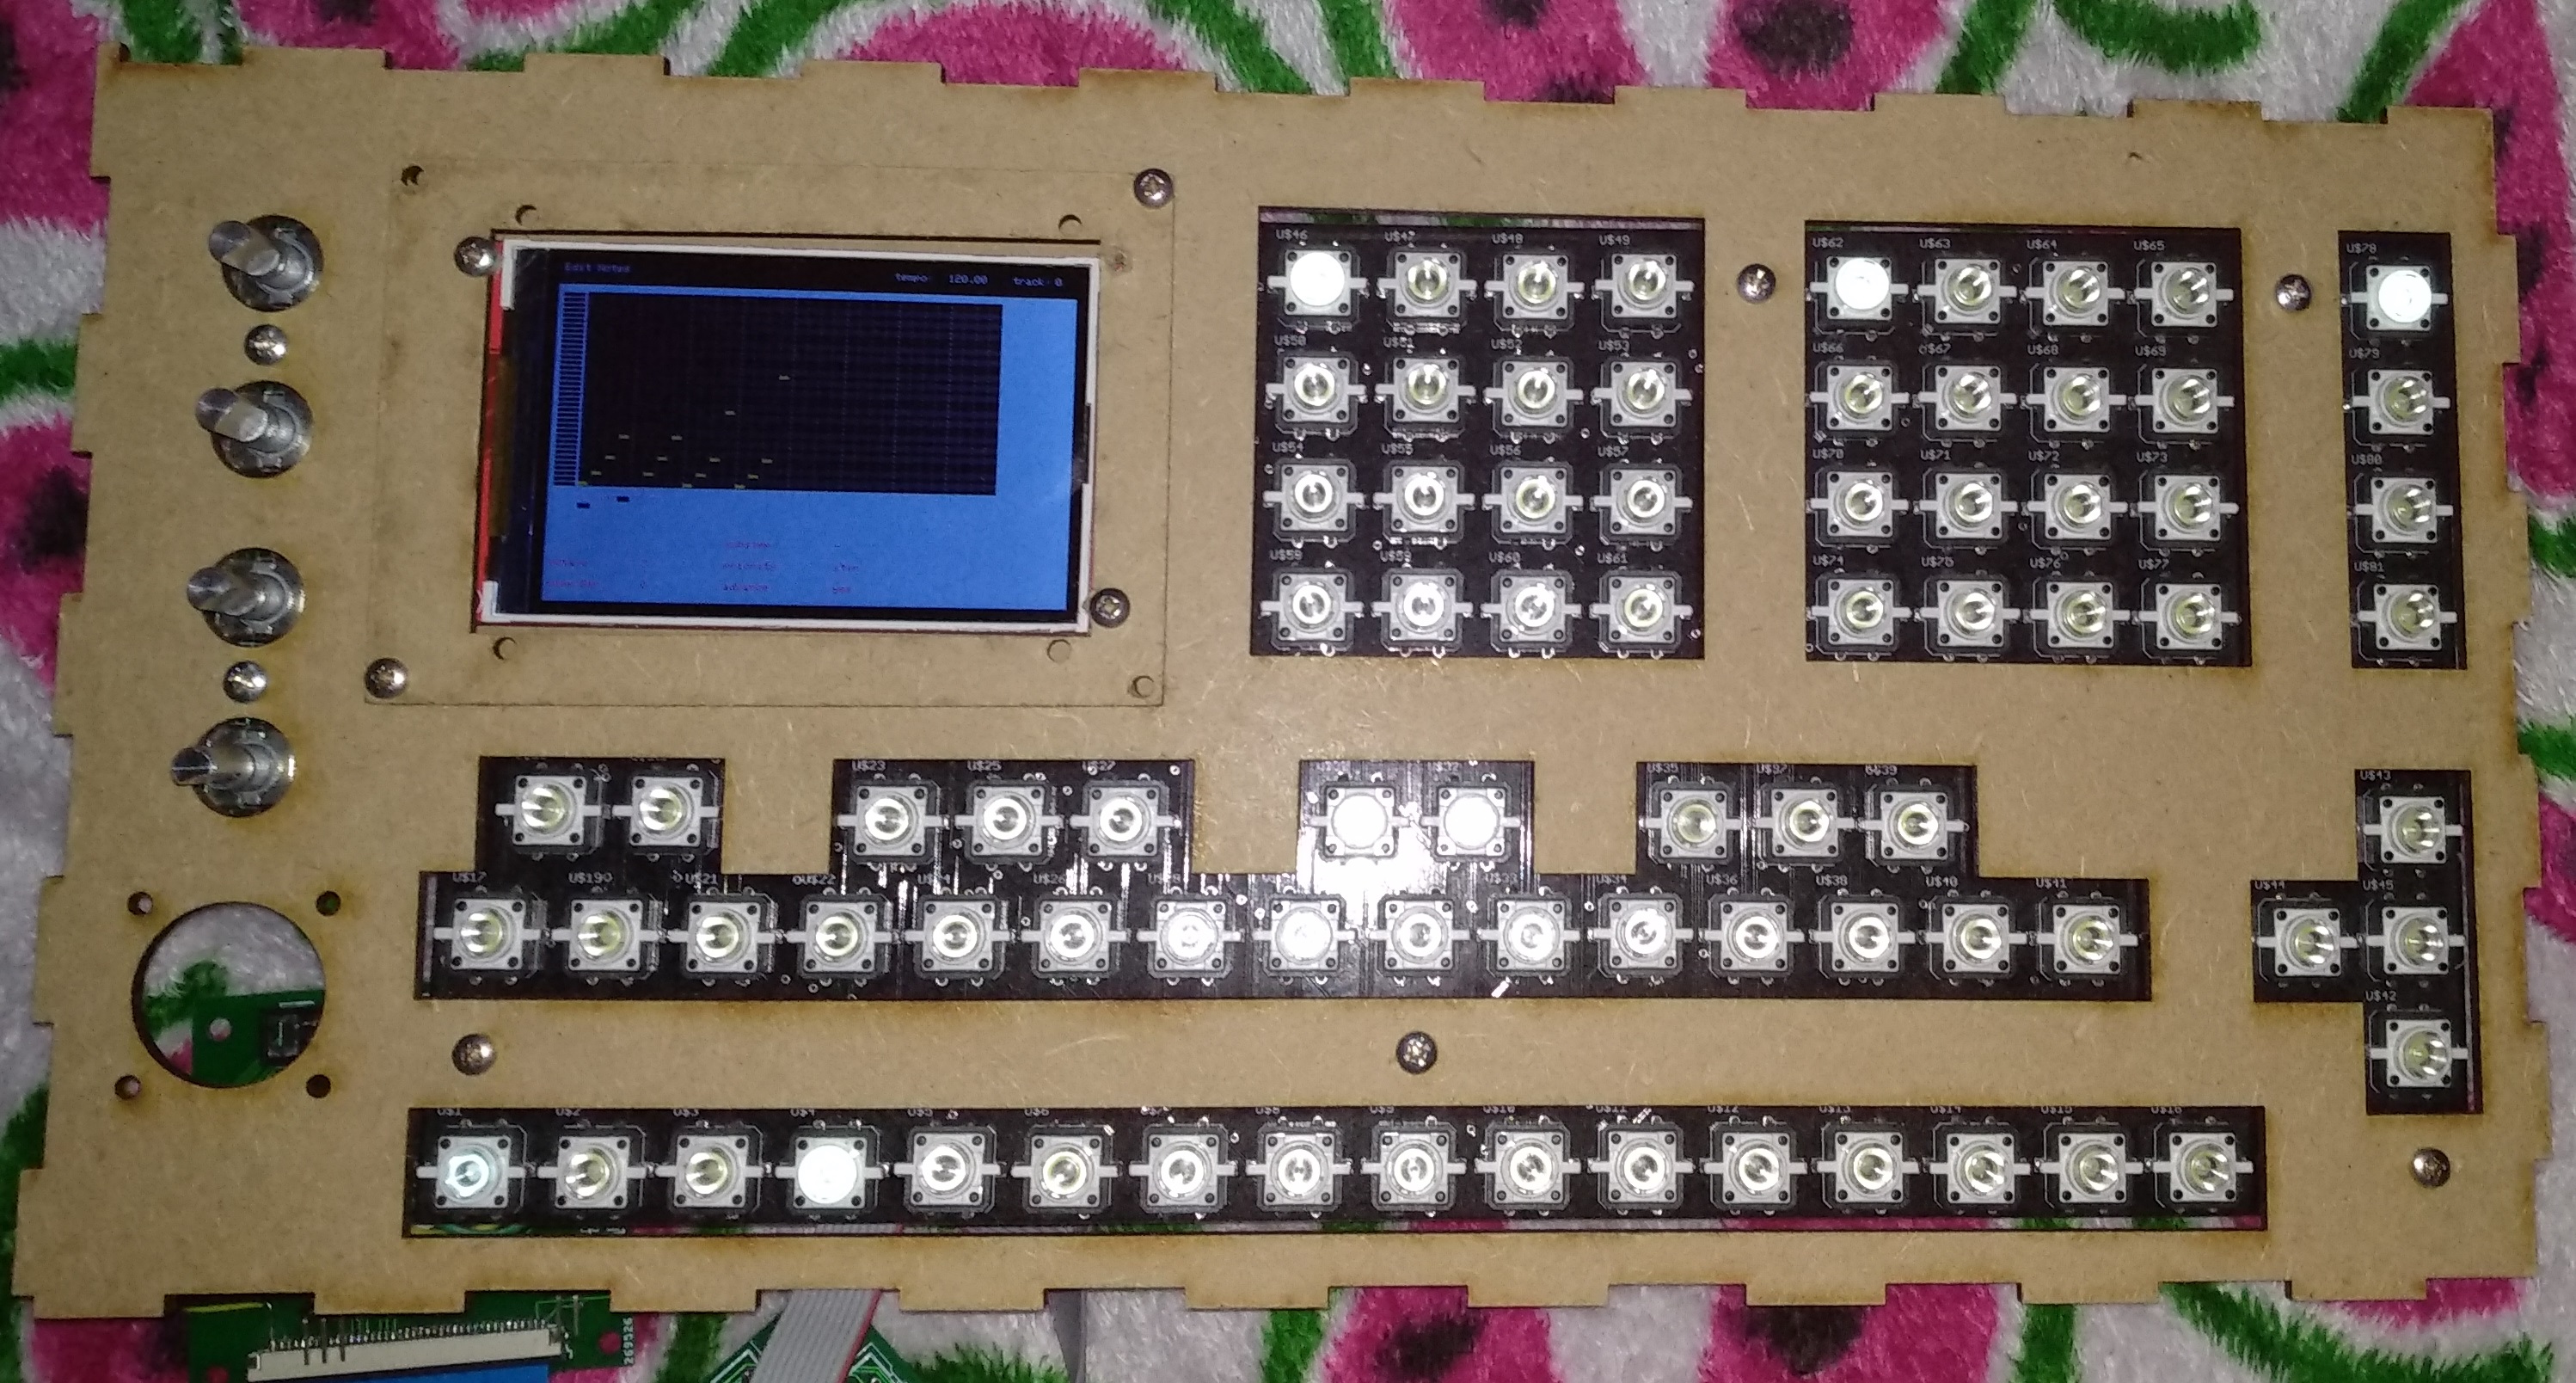
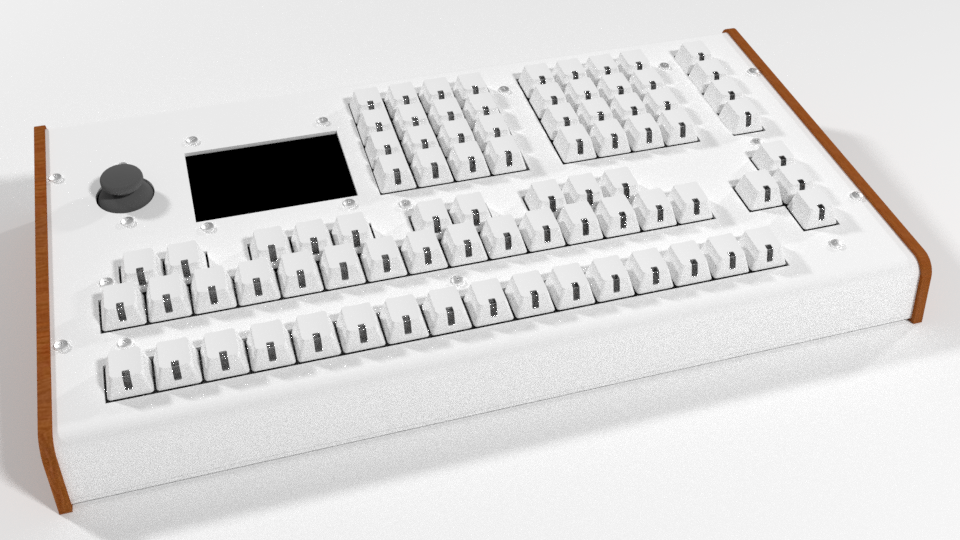
The ButtSeqs (Button Sequencer) is an instrument for performing computer-based music live. The emphasis is on real time use and improvisation rather than simply pattern switching or playing an predetermined arrangement, and having the optimum controls for every situation.
Buttseqs is built around the interface and the concept of having amny easily switchable modes and functions that can be learnt and activated through muscle memory.
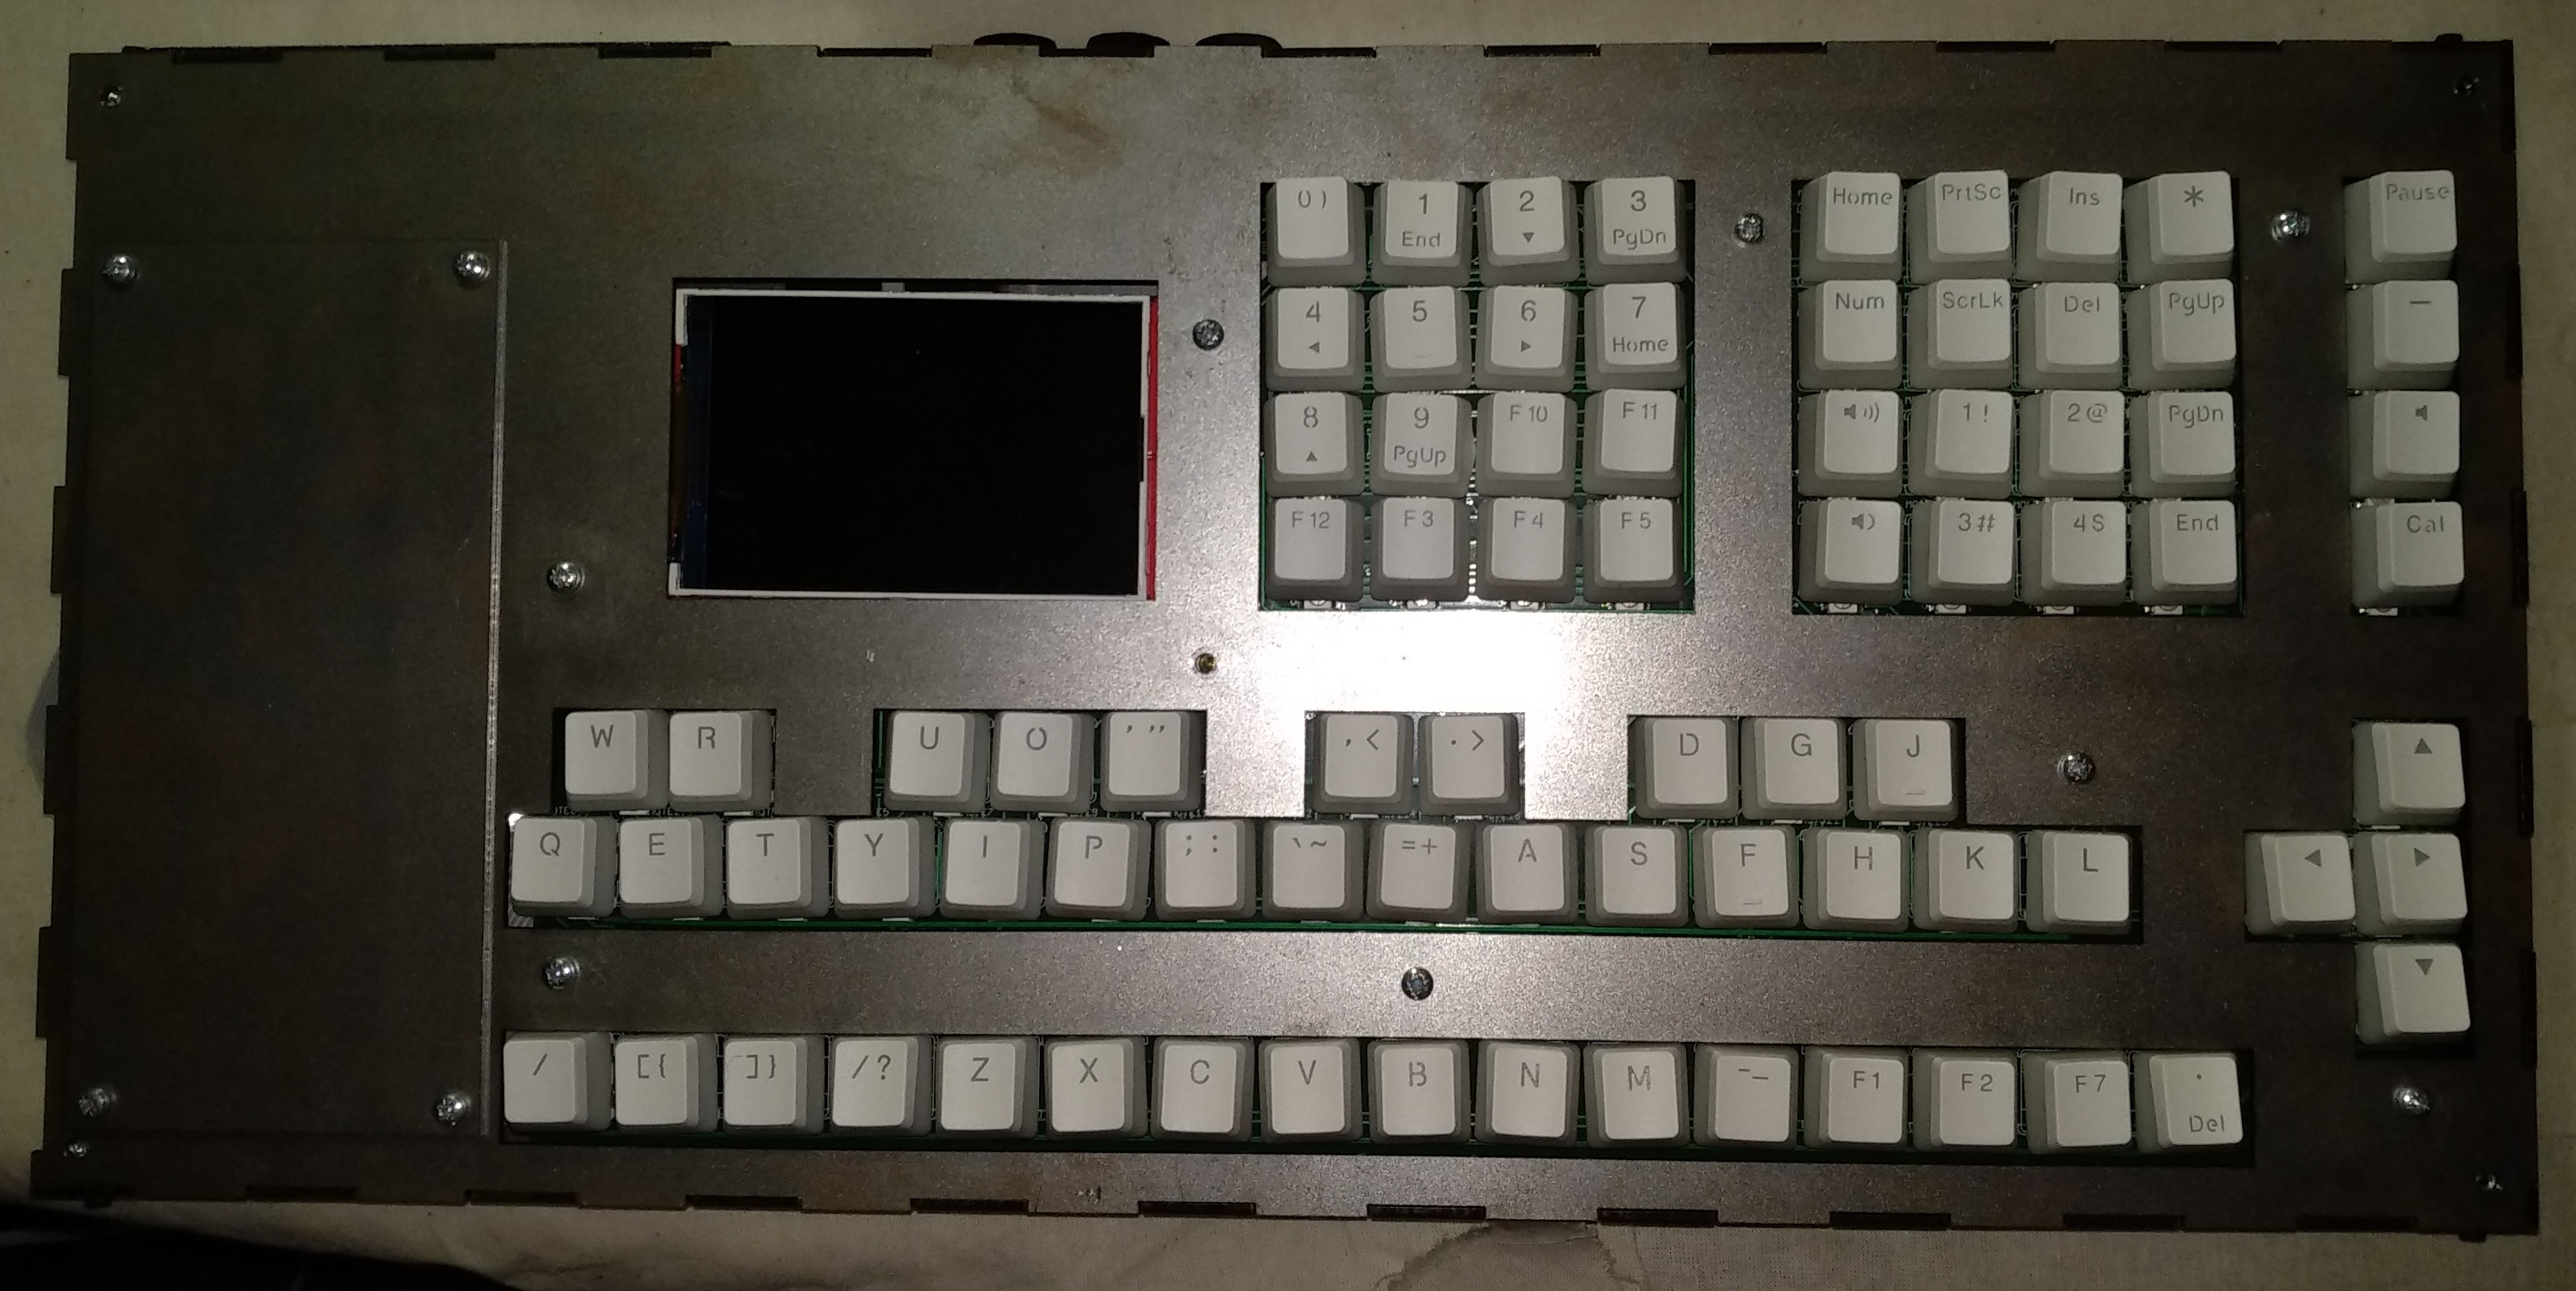
Originally designed to make pattern-based sequencing as fully featured as using a computer DAW, after receiving feedback, it became clear that the market for just a sequencer is limited, and we could reach a much larger audience if it could process and record audio like a traditional DAW.For the current prototype, we have focussed on the rule of squares. Every button set has a square cardinality. The sum of all buttons adds up to 81.
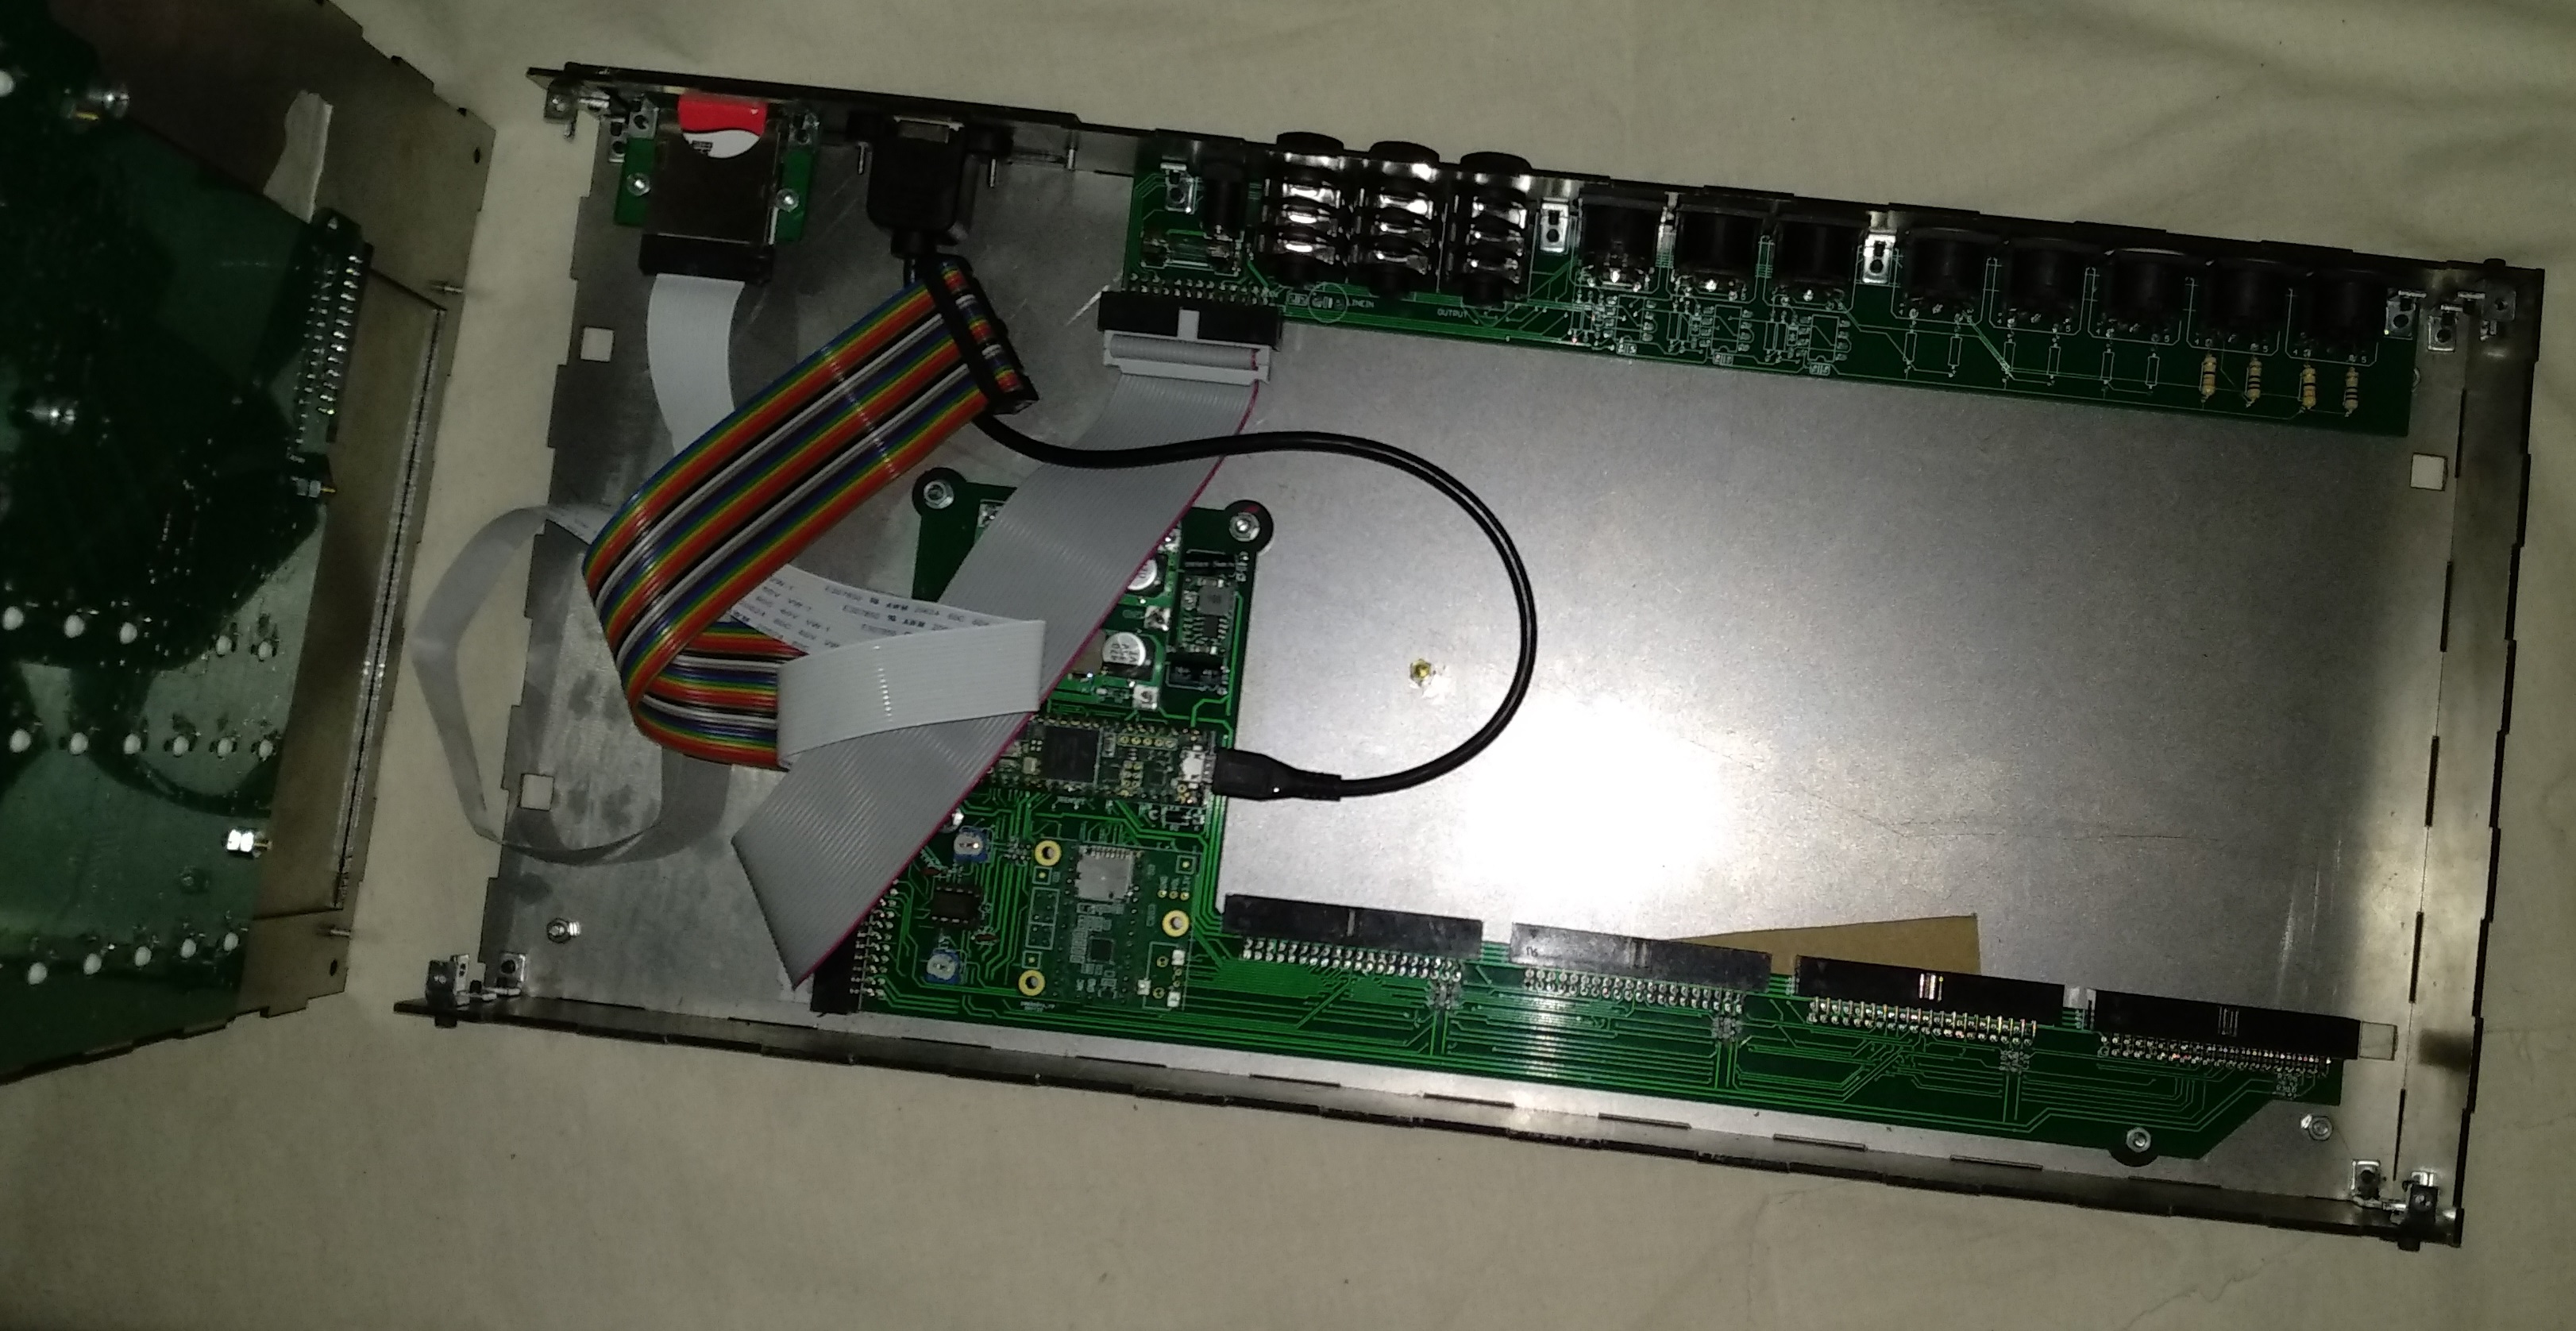
A lot work has been done, but much more is left. The project is fluid and exists across many dimensions incorporating a blend of different hardware and software.
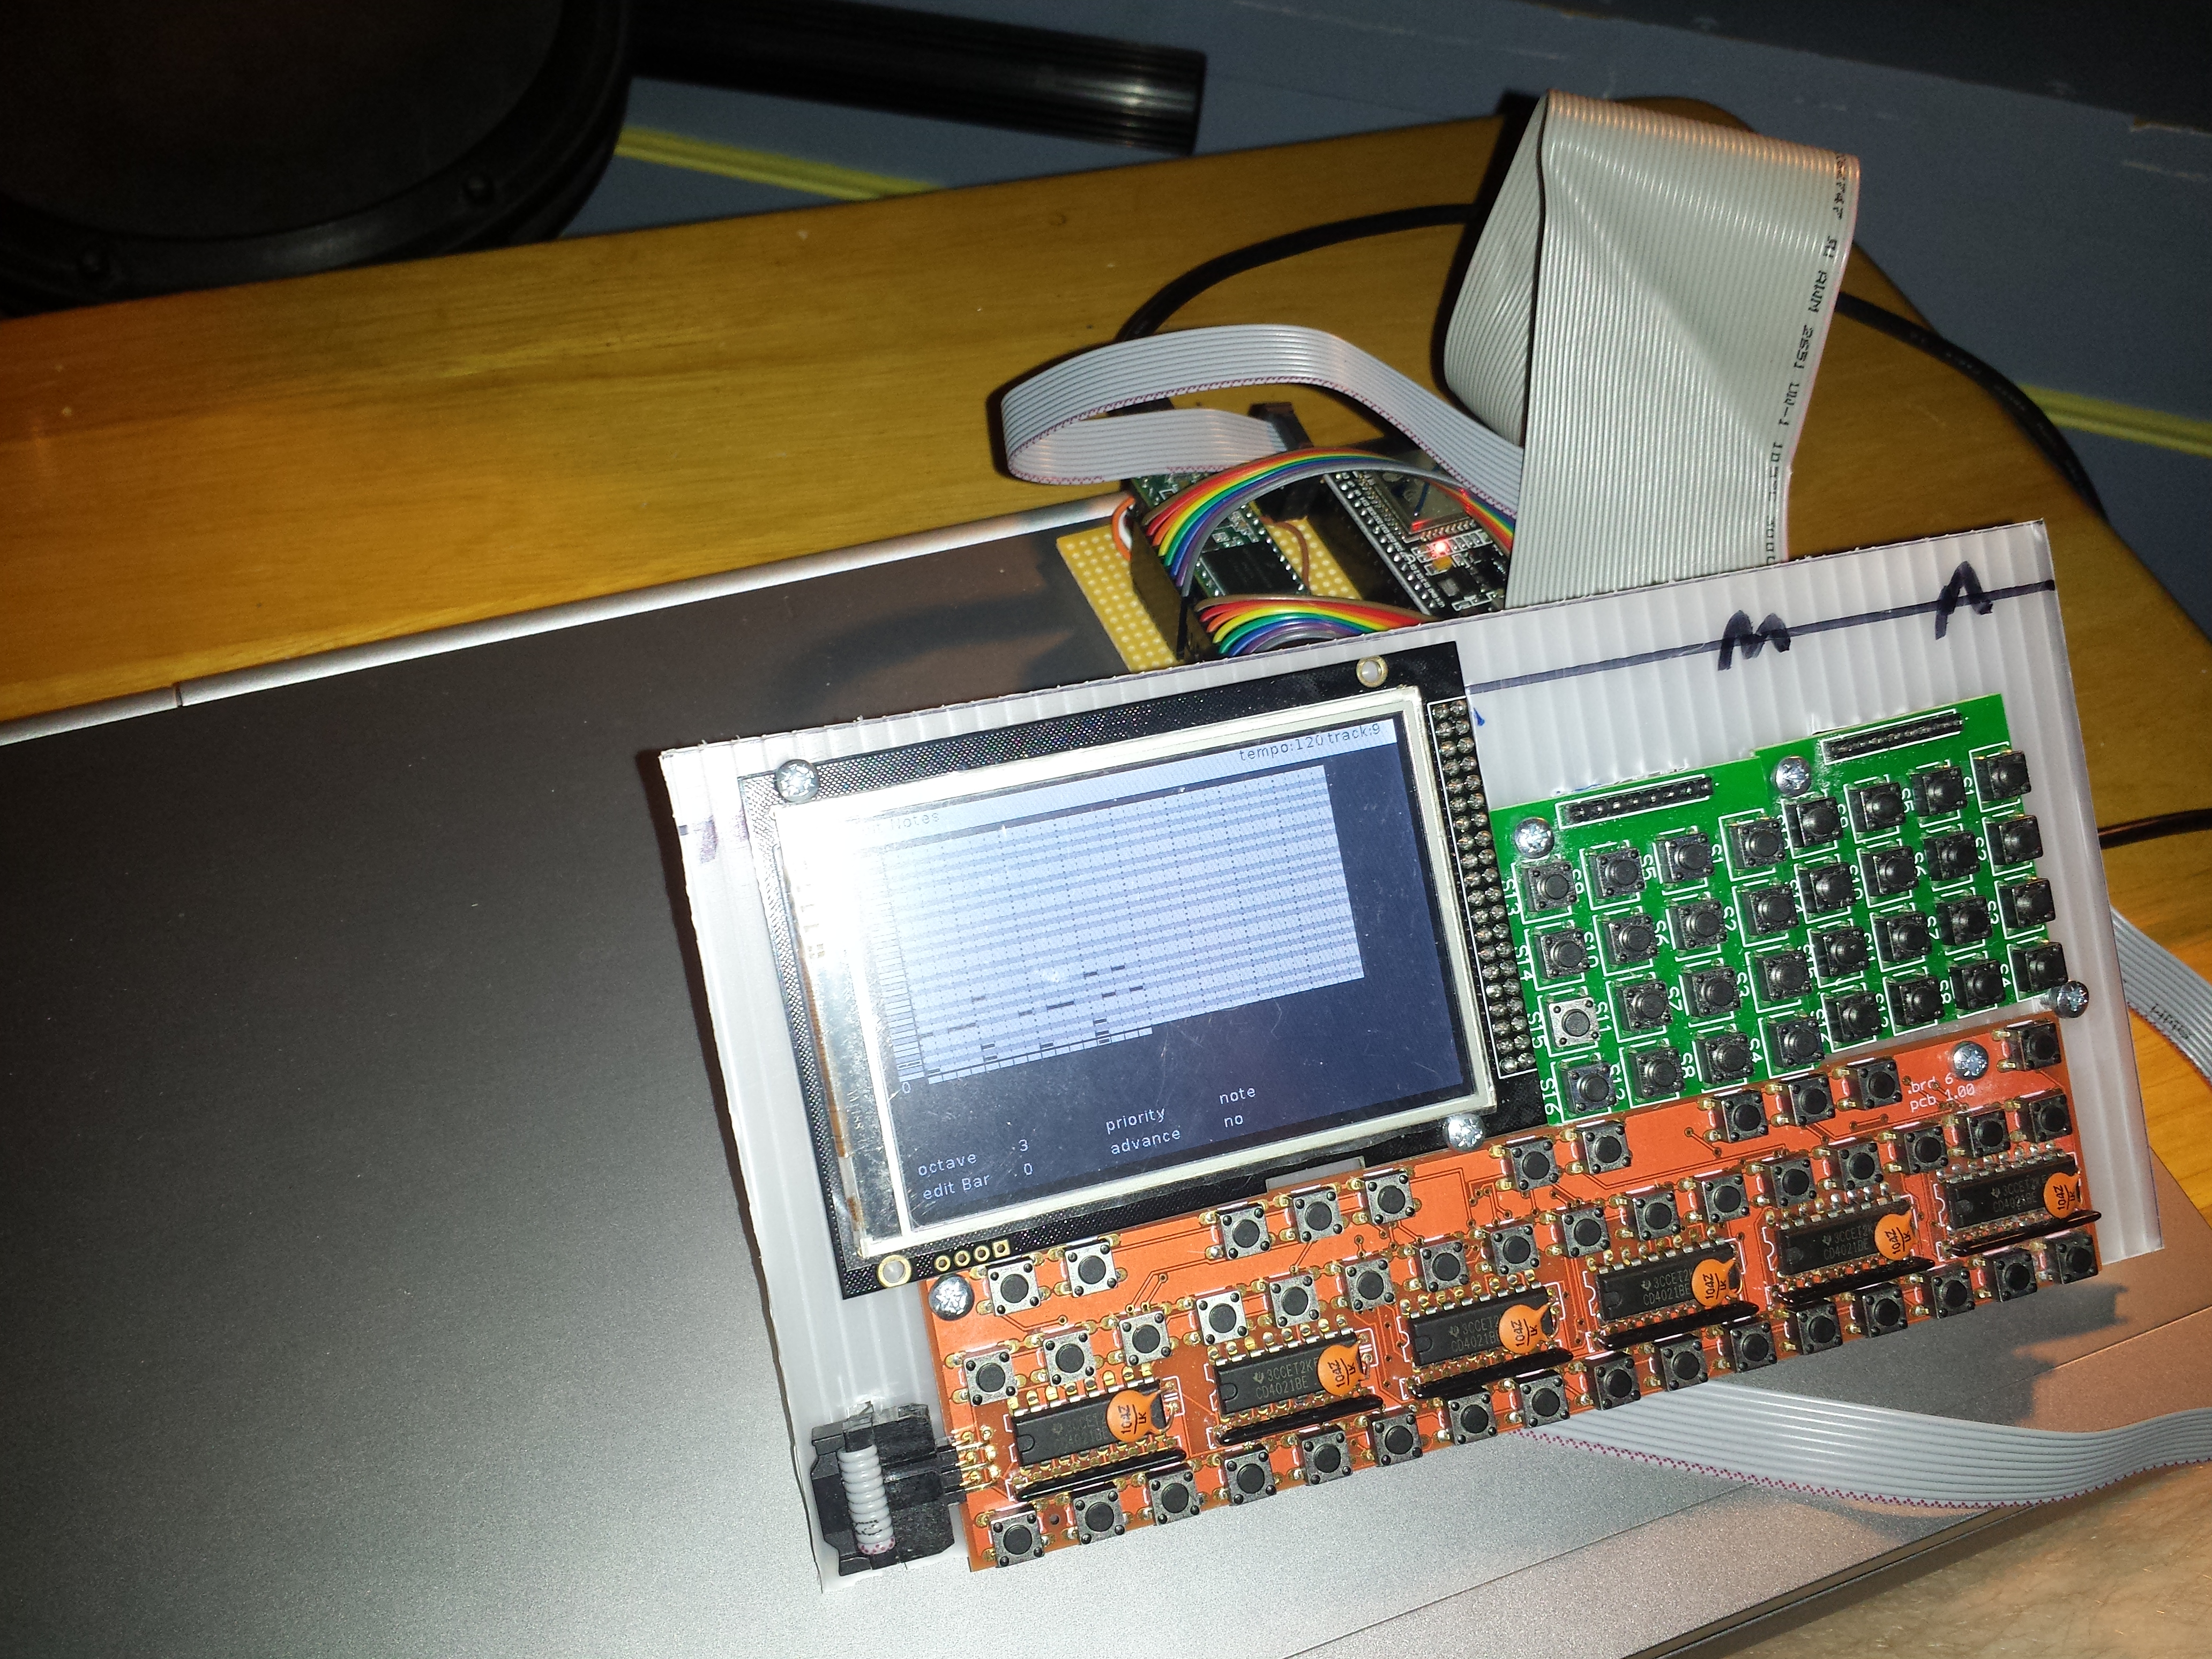
Current Features
- Select multiple steps at once for processing or note entry.
- Arrange mode - See a visual representation of tracks and changes - sit back and let the sequencer play itself
- The sequencer will always run and all functions that. Even switching between pattern mode and song mode.
- Help screens showing the button functions in each mode.
- The usual modes: mute (per note or per track), transpose, batch process etc.
- Proof of concept drum machine and bassline synthesiser.
Future Features
- Fewer bugs and inconsistencies
- Process mode - Apply a chain of non-destructive processes like mutate and shuffle to each pattern.
- Some more - live LFO mode, joint mode for linking two together, arpegiator, saving patterns
- Expansion port for CV expander / analogue synthesisers.
Specifications
| Number of tracks | 16 |
| Connectivity | 5 MIDI-DIN out, 3 MIDI-DIN in, USB MIDI, audio output, 4 expansion connectors |
| Number of buttons | 81 |
| Maximum pattern length | 256 steps - each divided into 16 substeps |
| PPQN | 48 - Low to simplify note entry |
| Screen Resolution | 480 × 320px |
| MCU | Cortex-M7 600 MHz - Teensy 4.1 |
| Power requirements | 15-20 Volts, 1A |
| Internal quickblow fuse? | Yes |
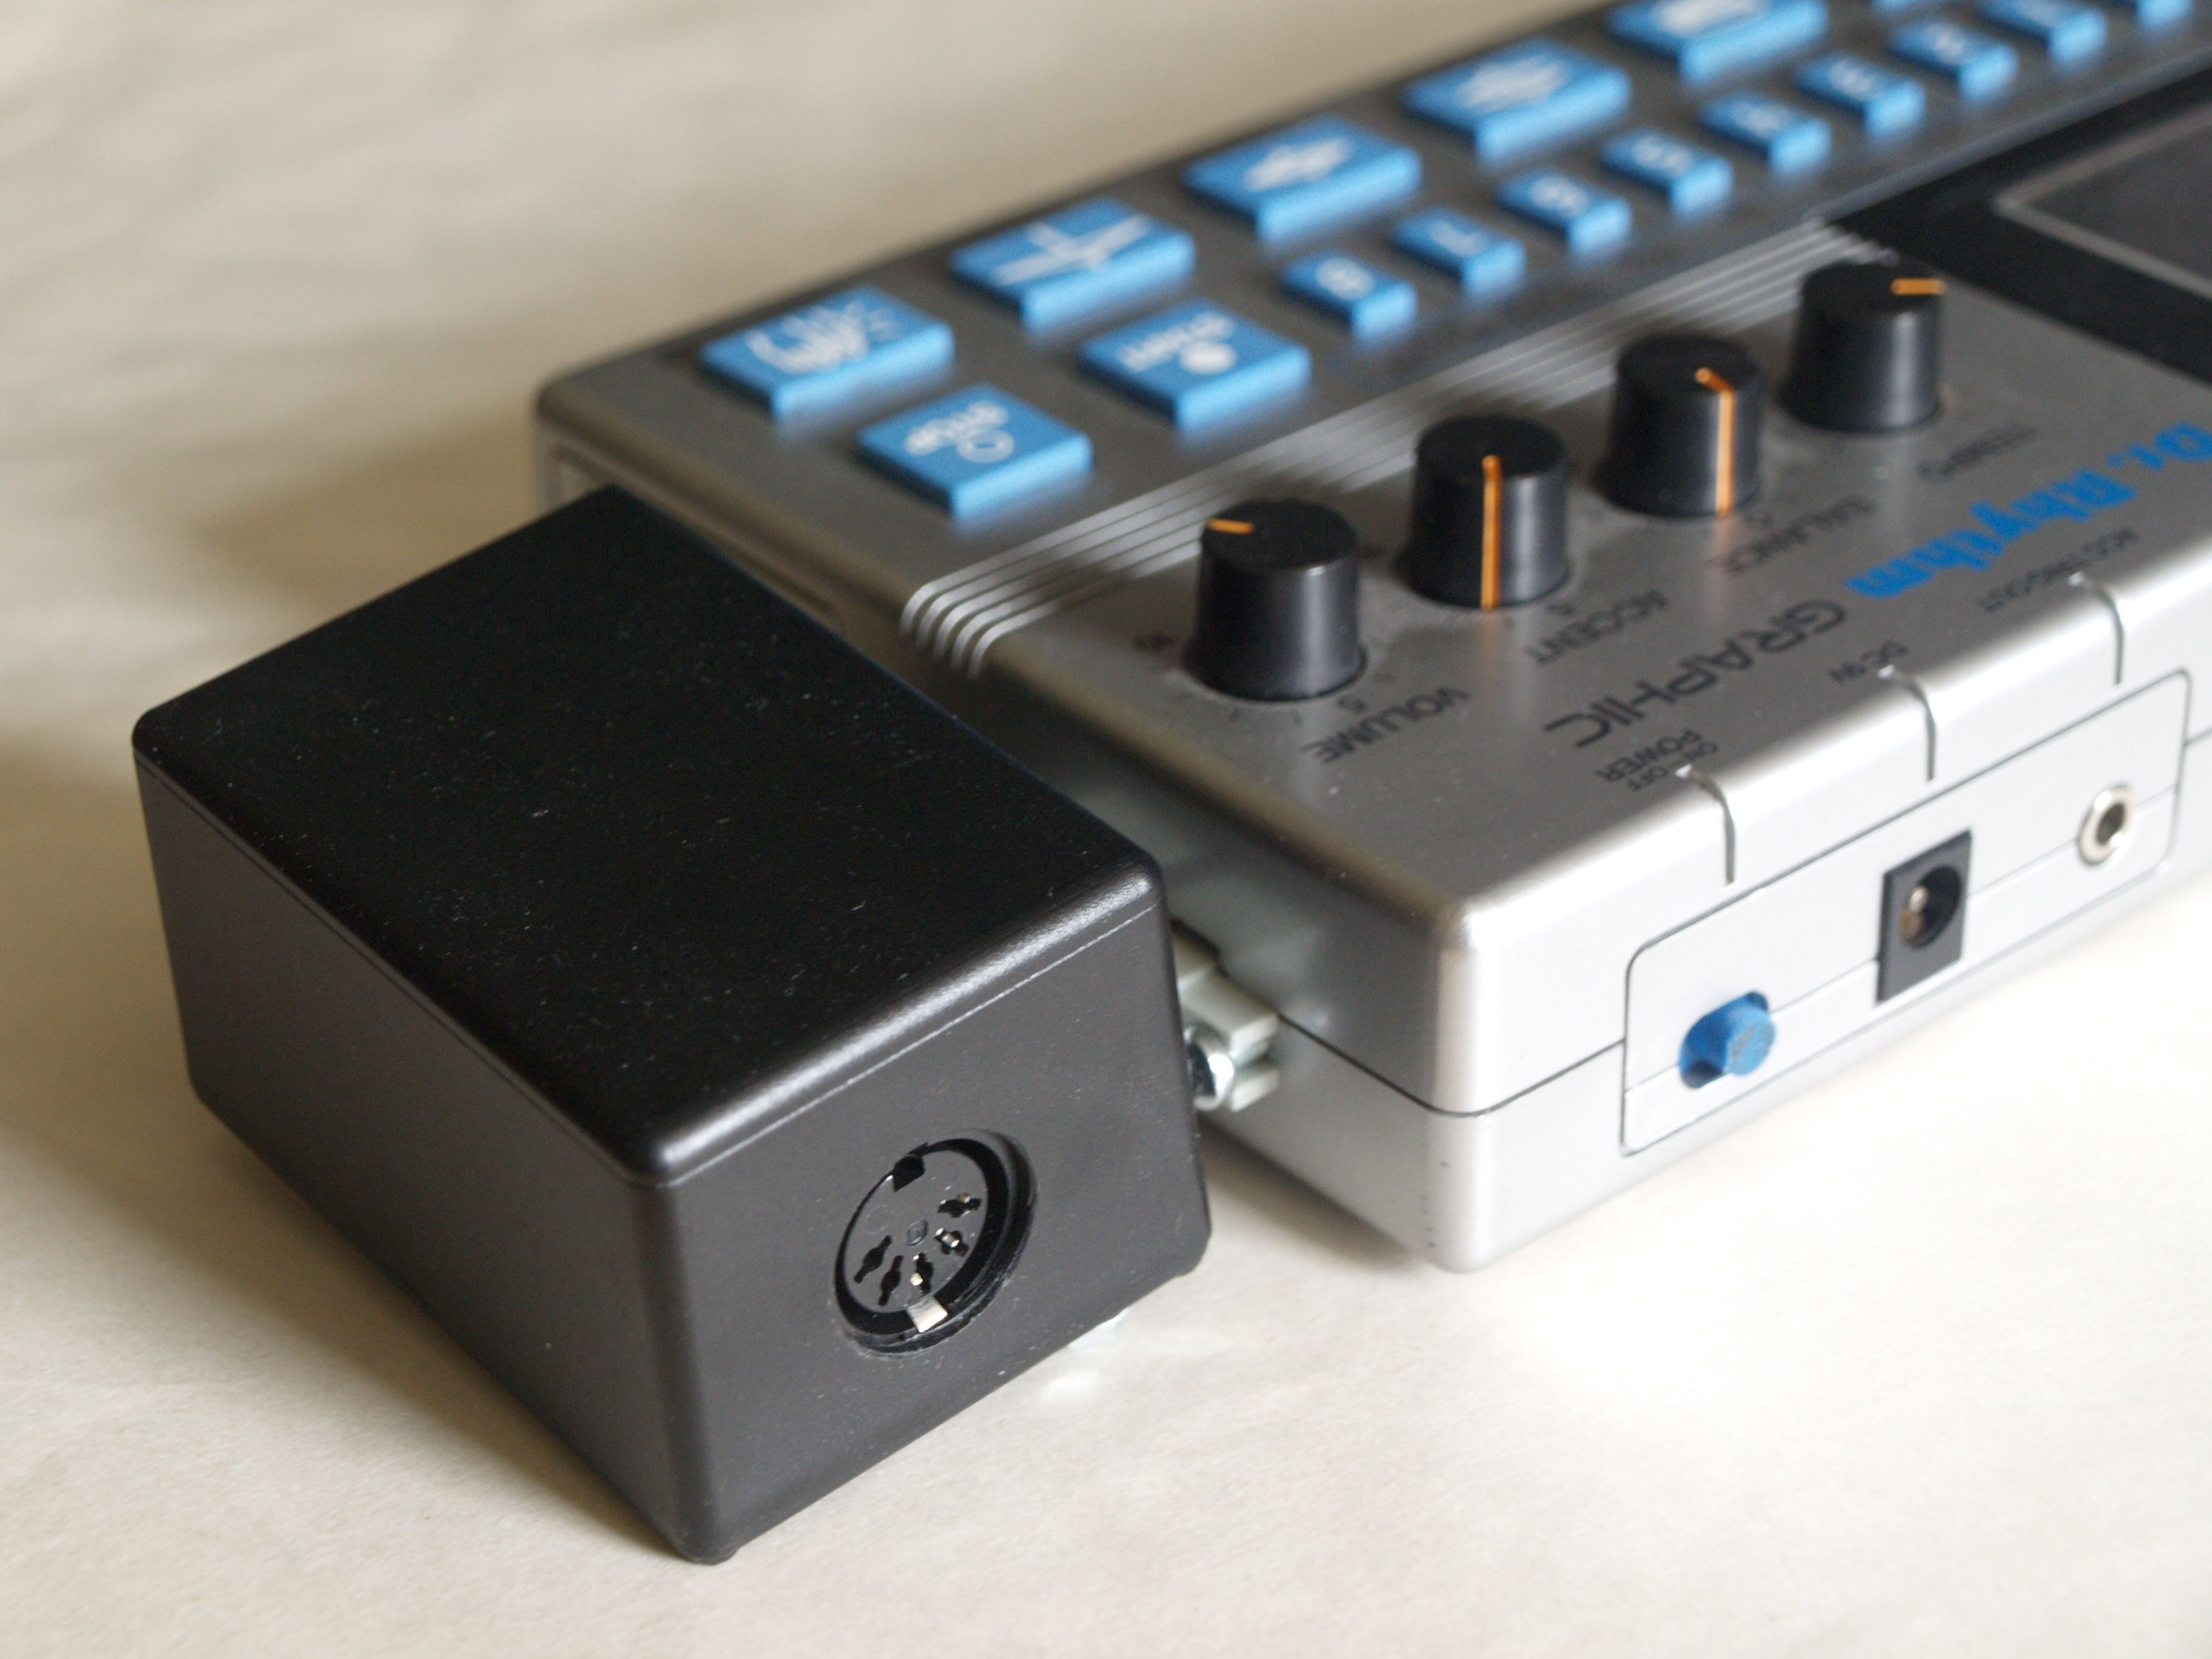
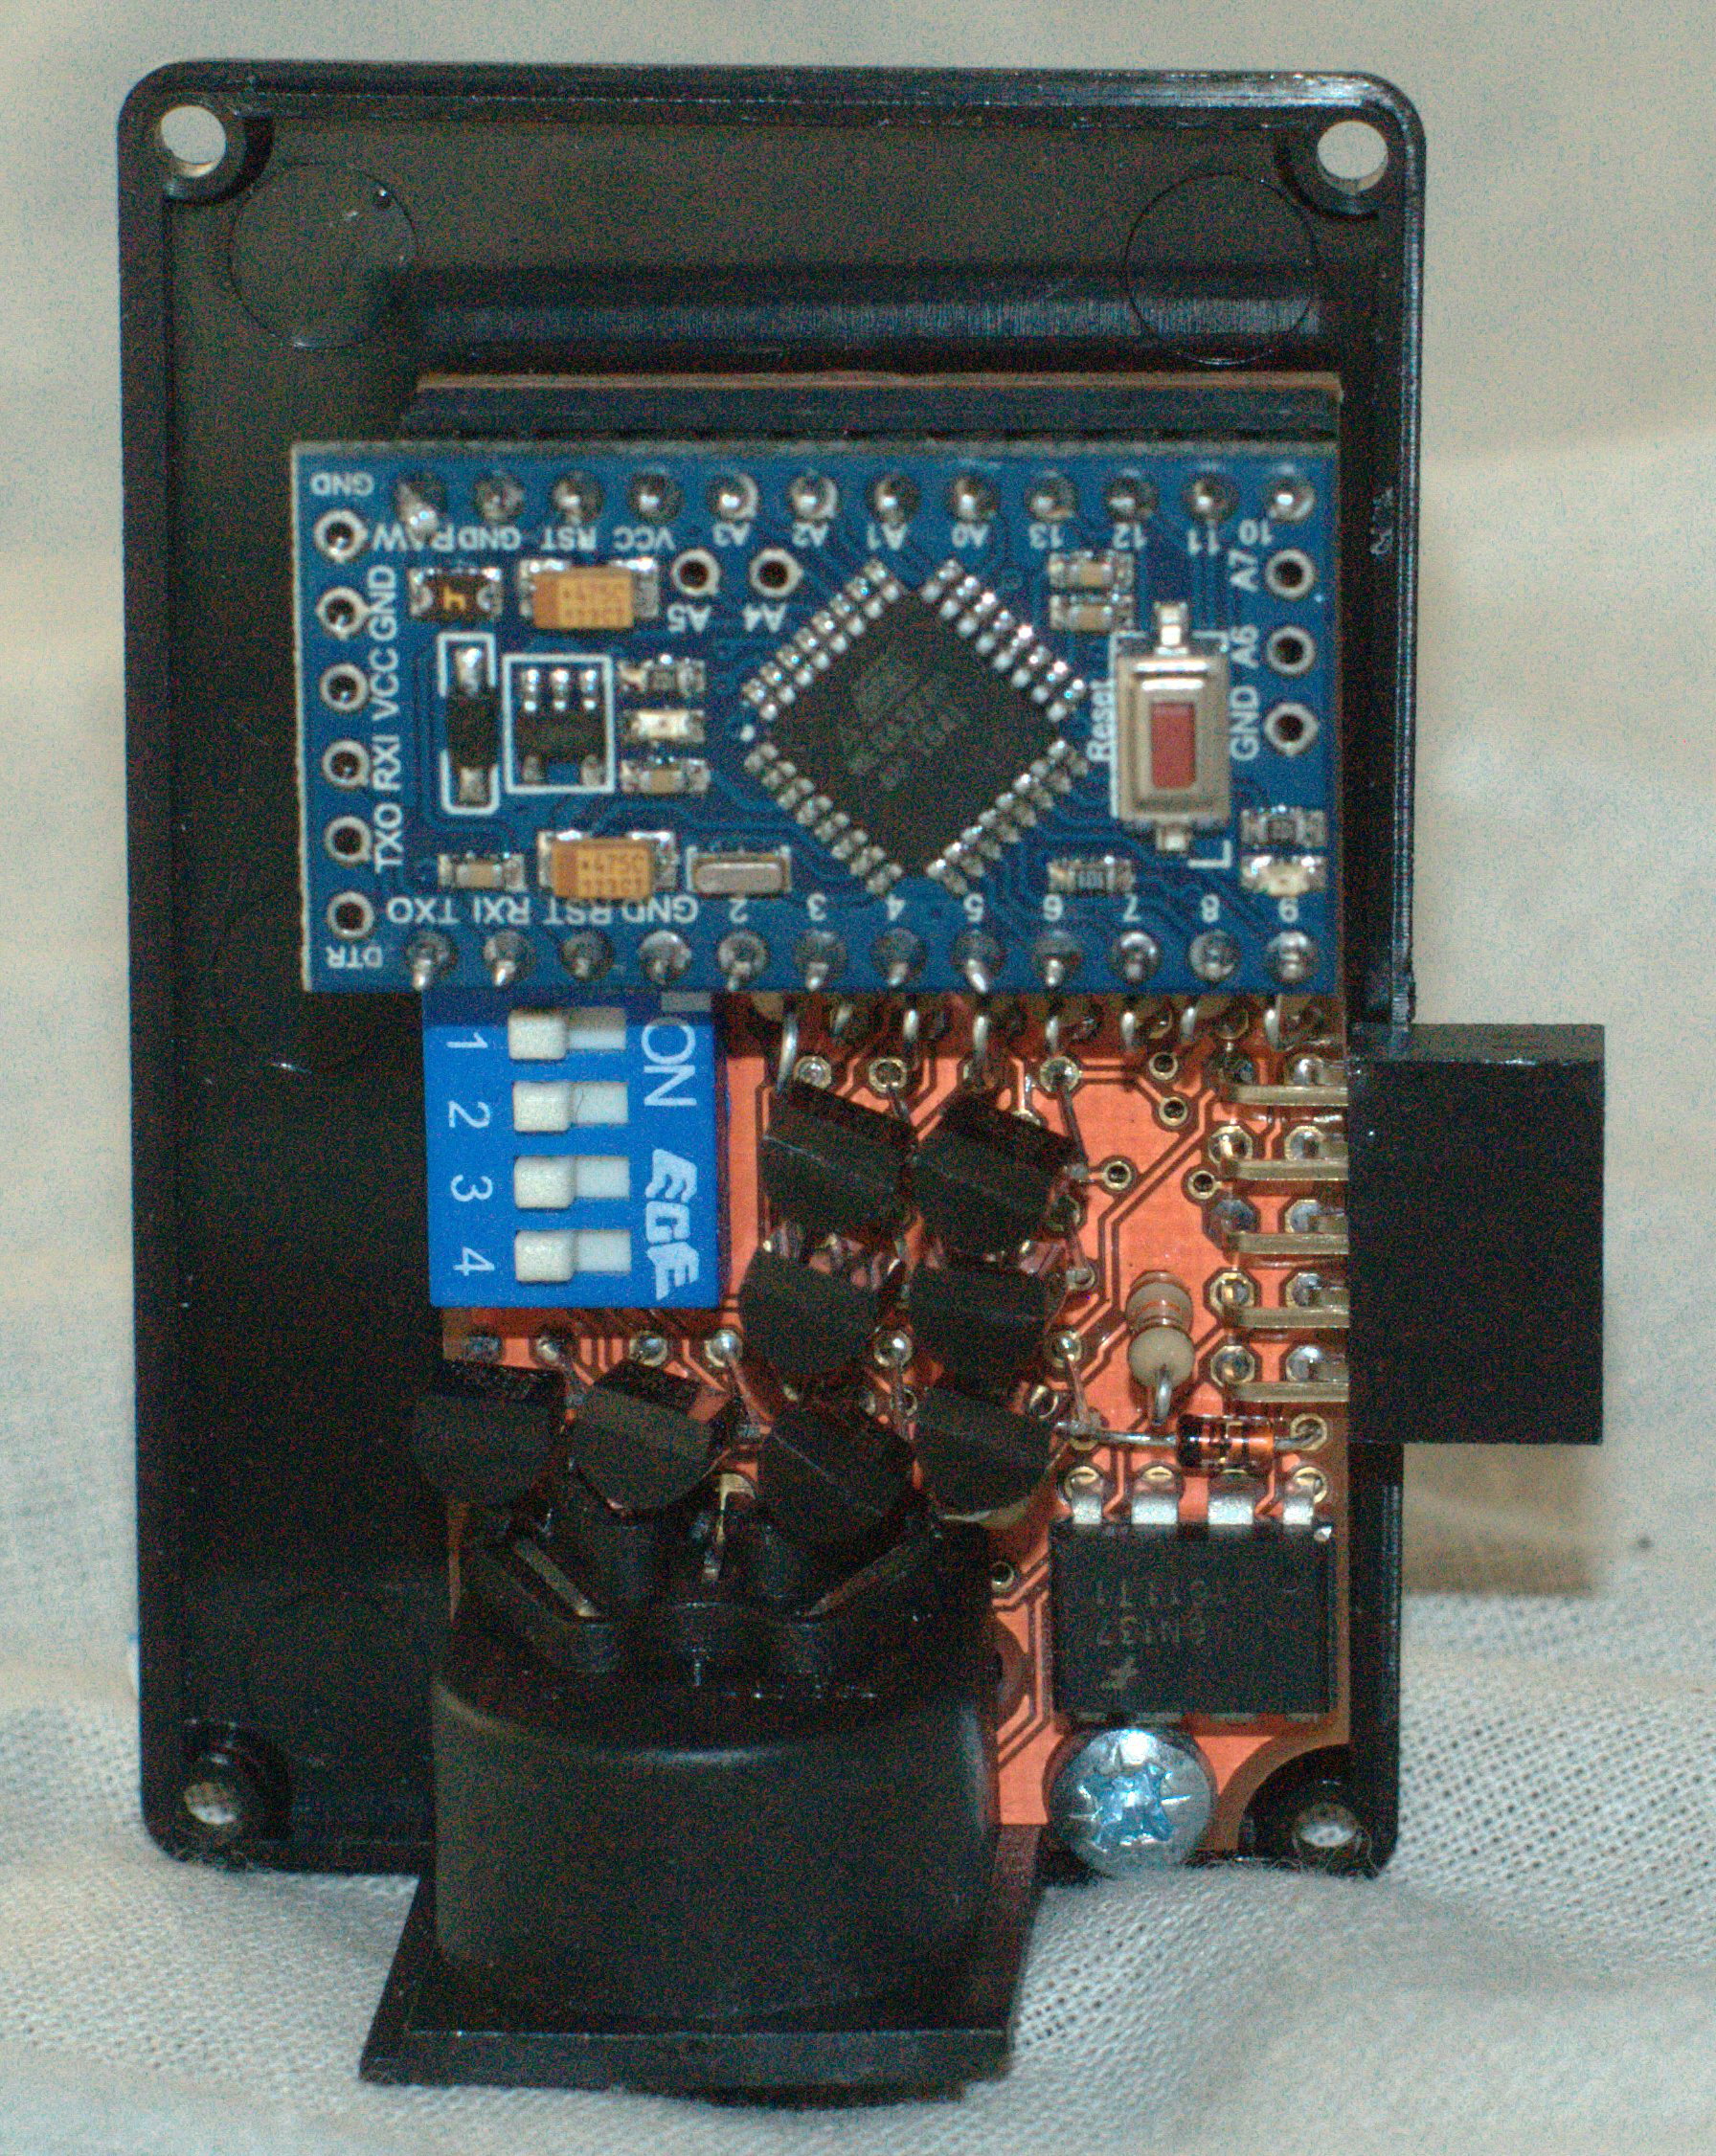
DR-110 MIDI Mod - Open Source
This mod brings the DR110 into the modern age (2019) with note triggering via MIDI, individual velocity sensitivity and a few variations on the original sounds. It does not support synchronisation of the DR110's internal clock to MIDI.
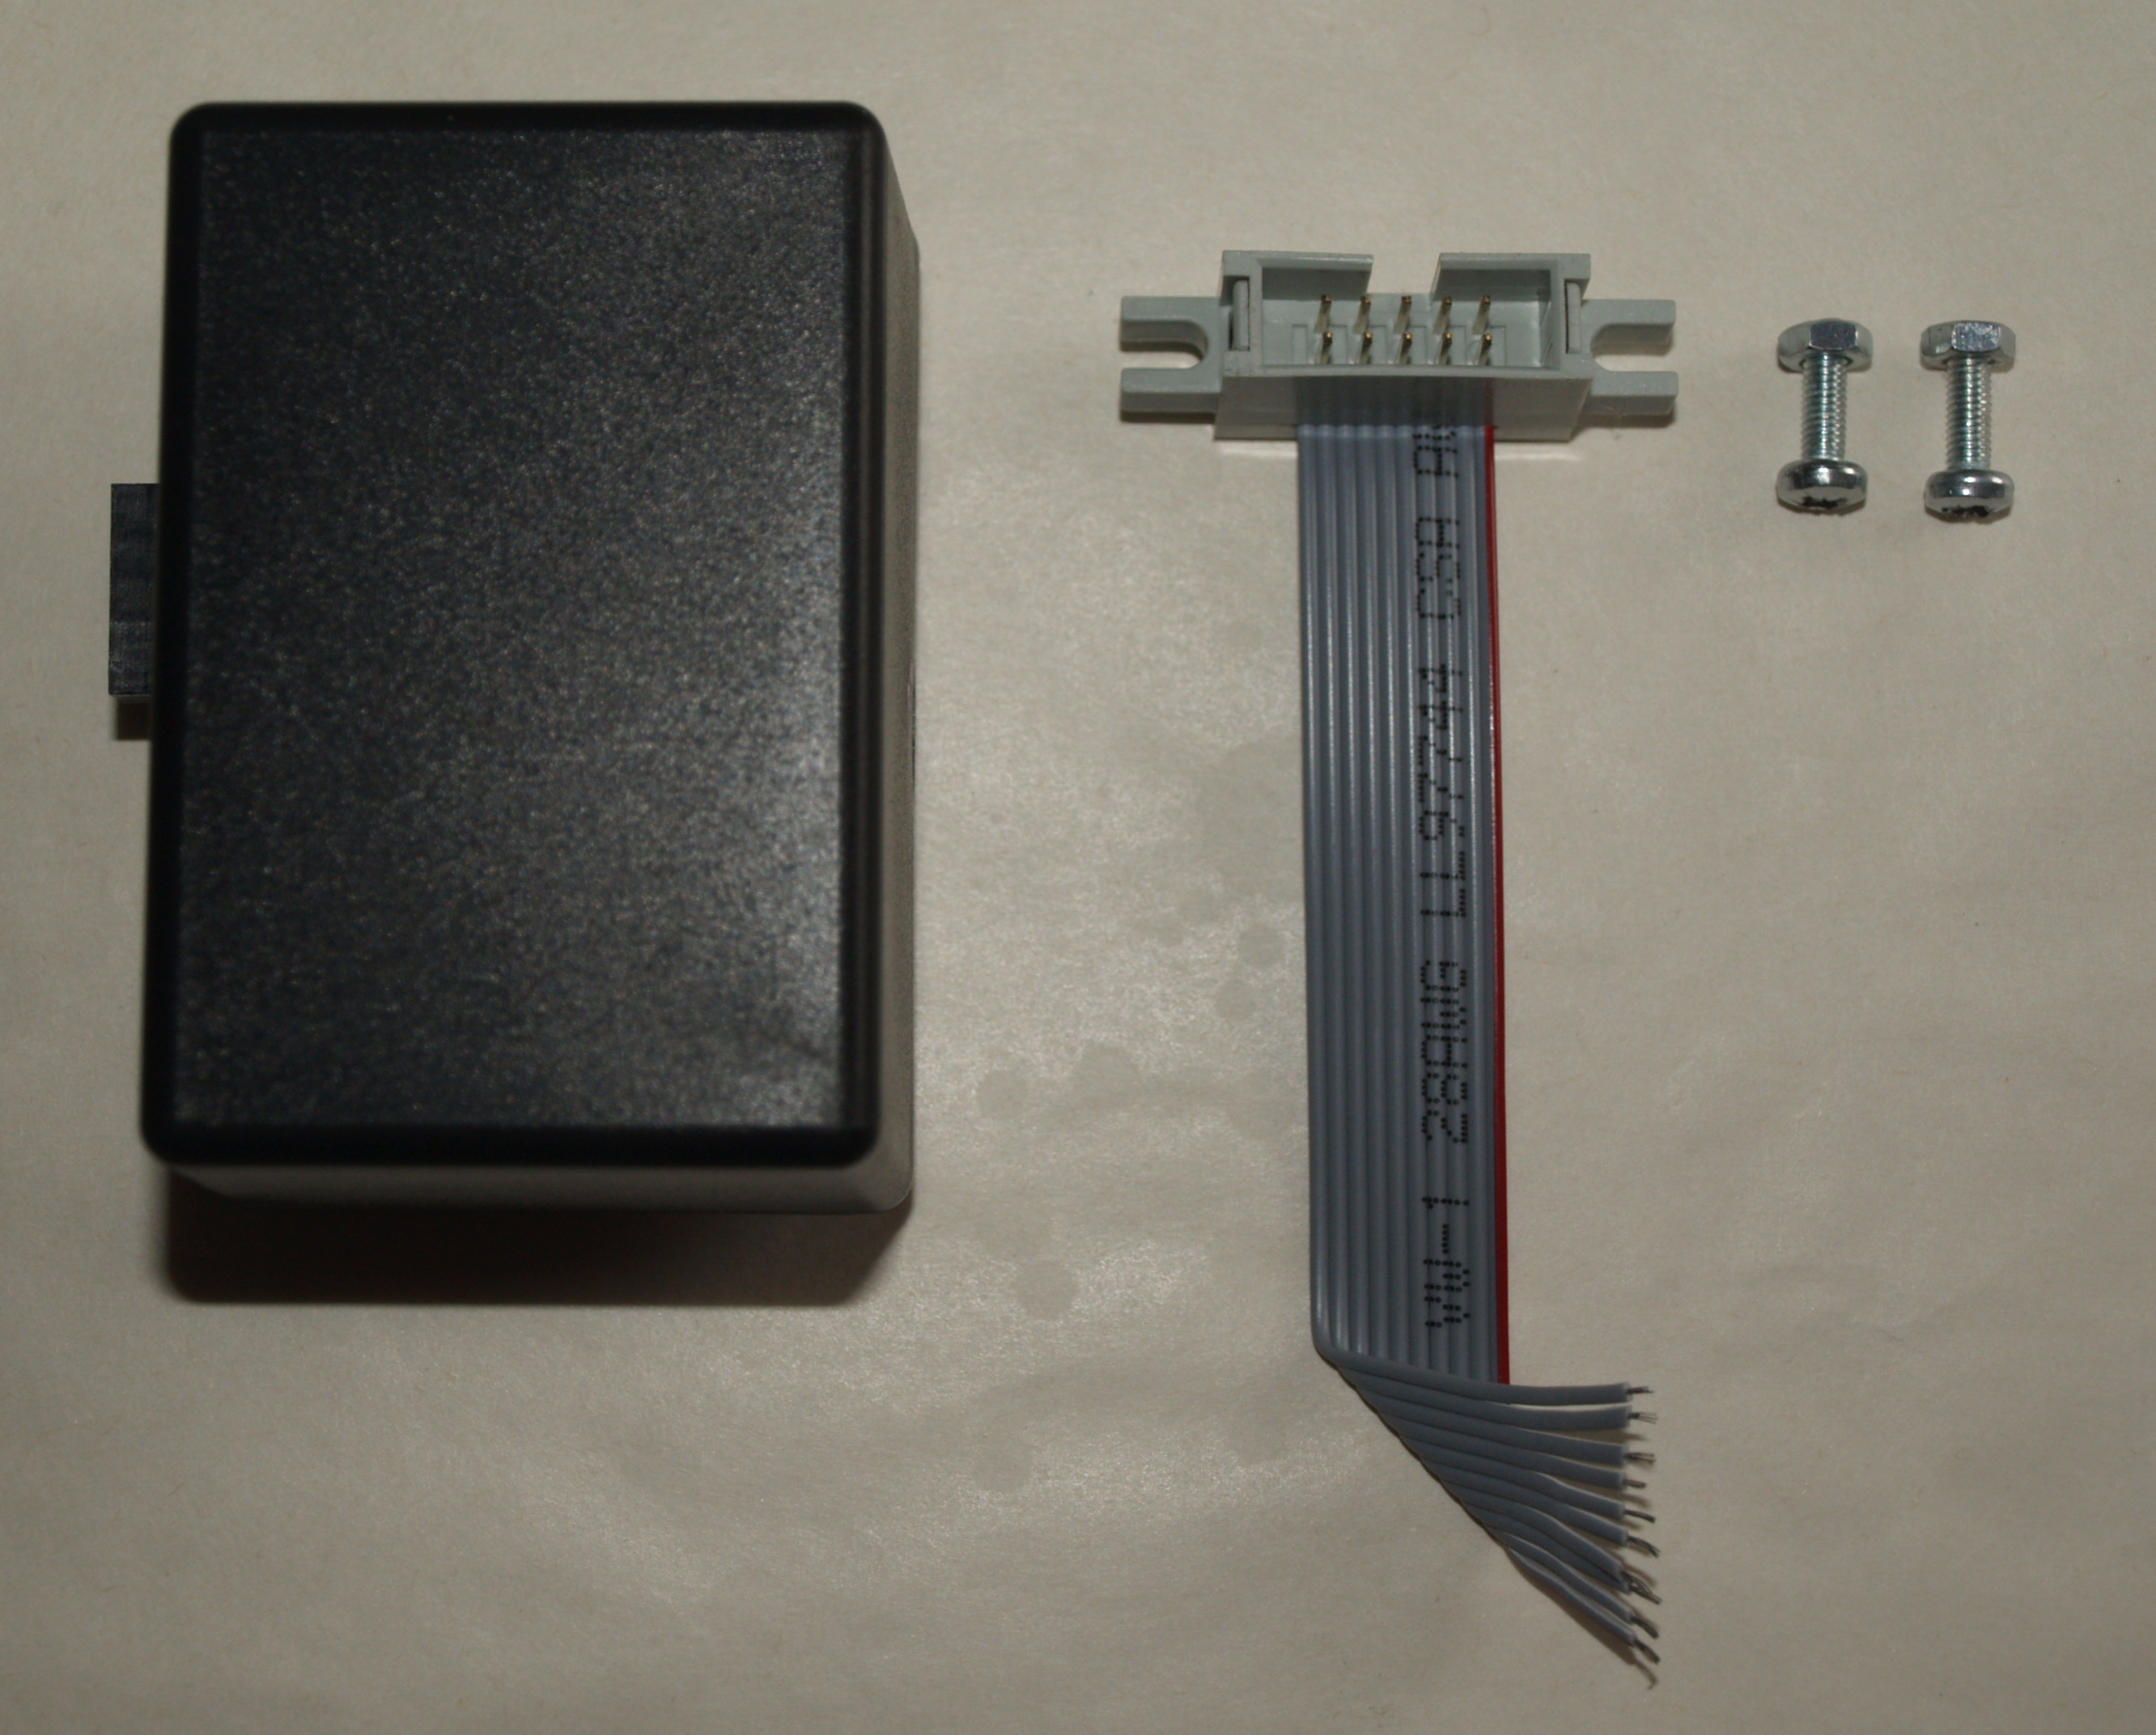
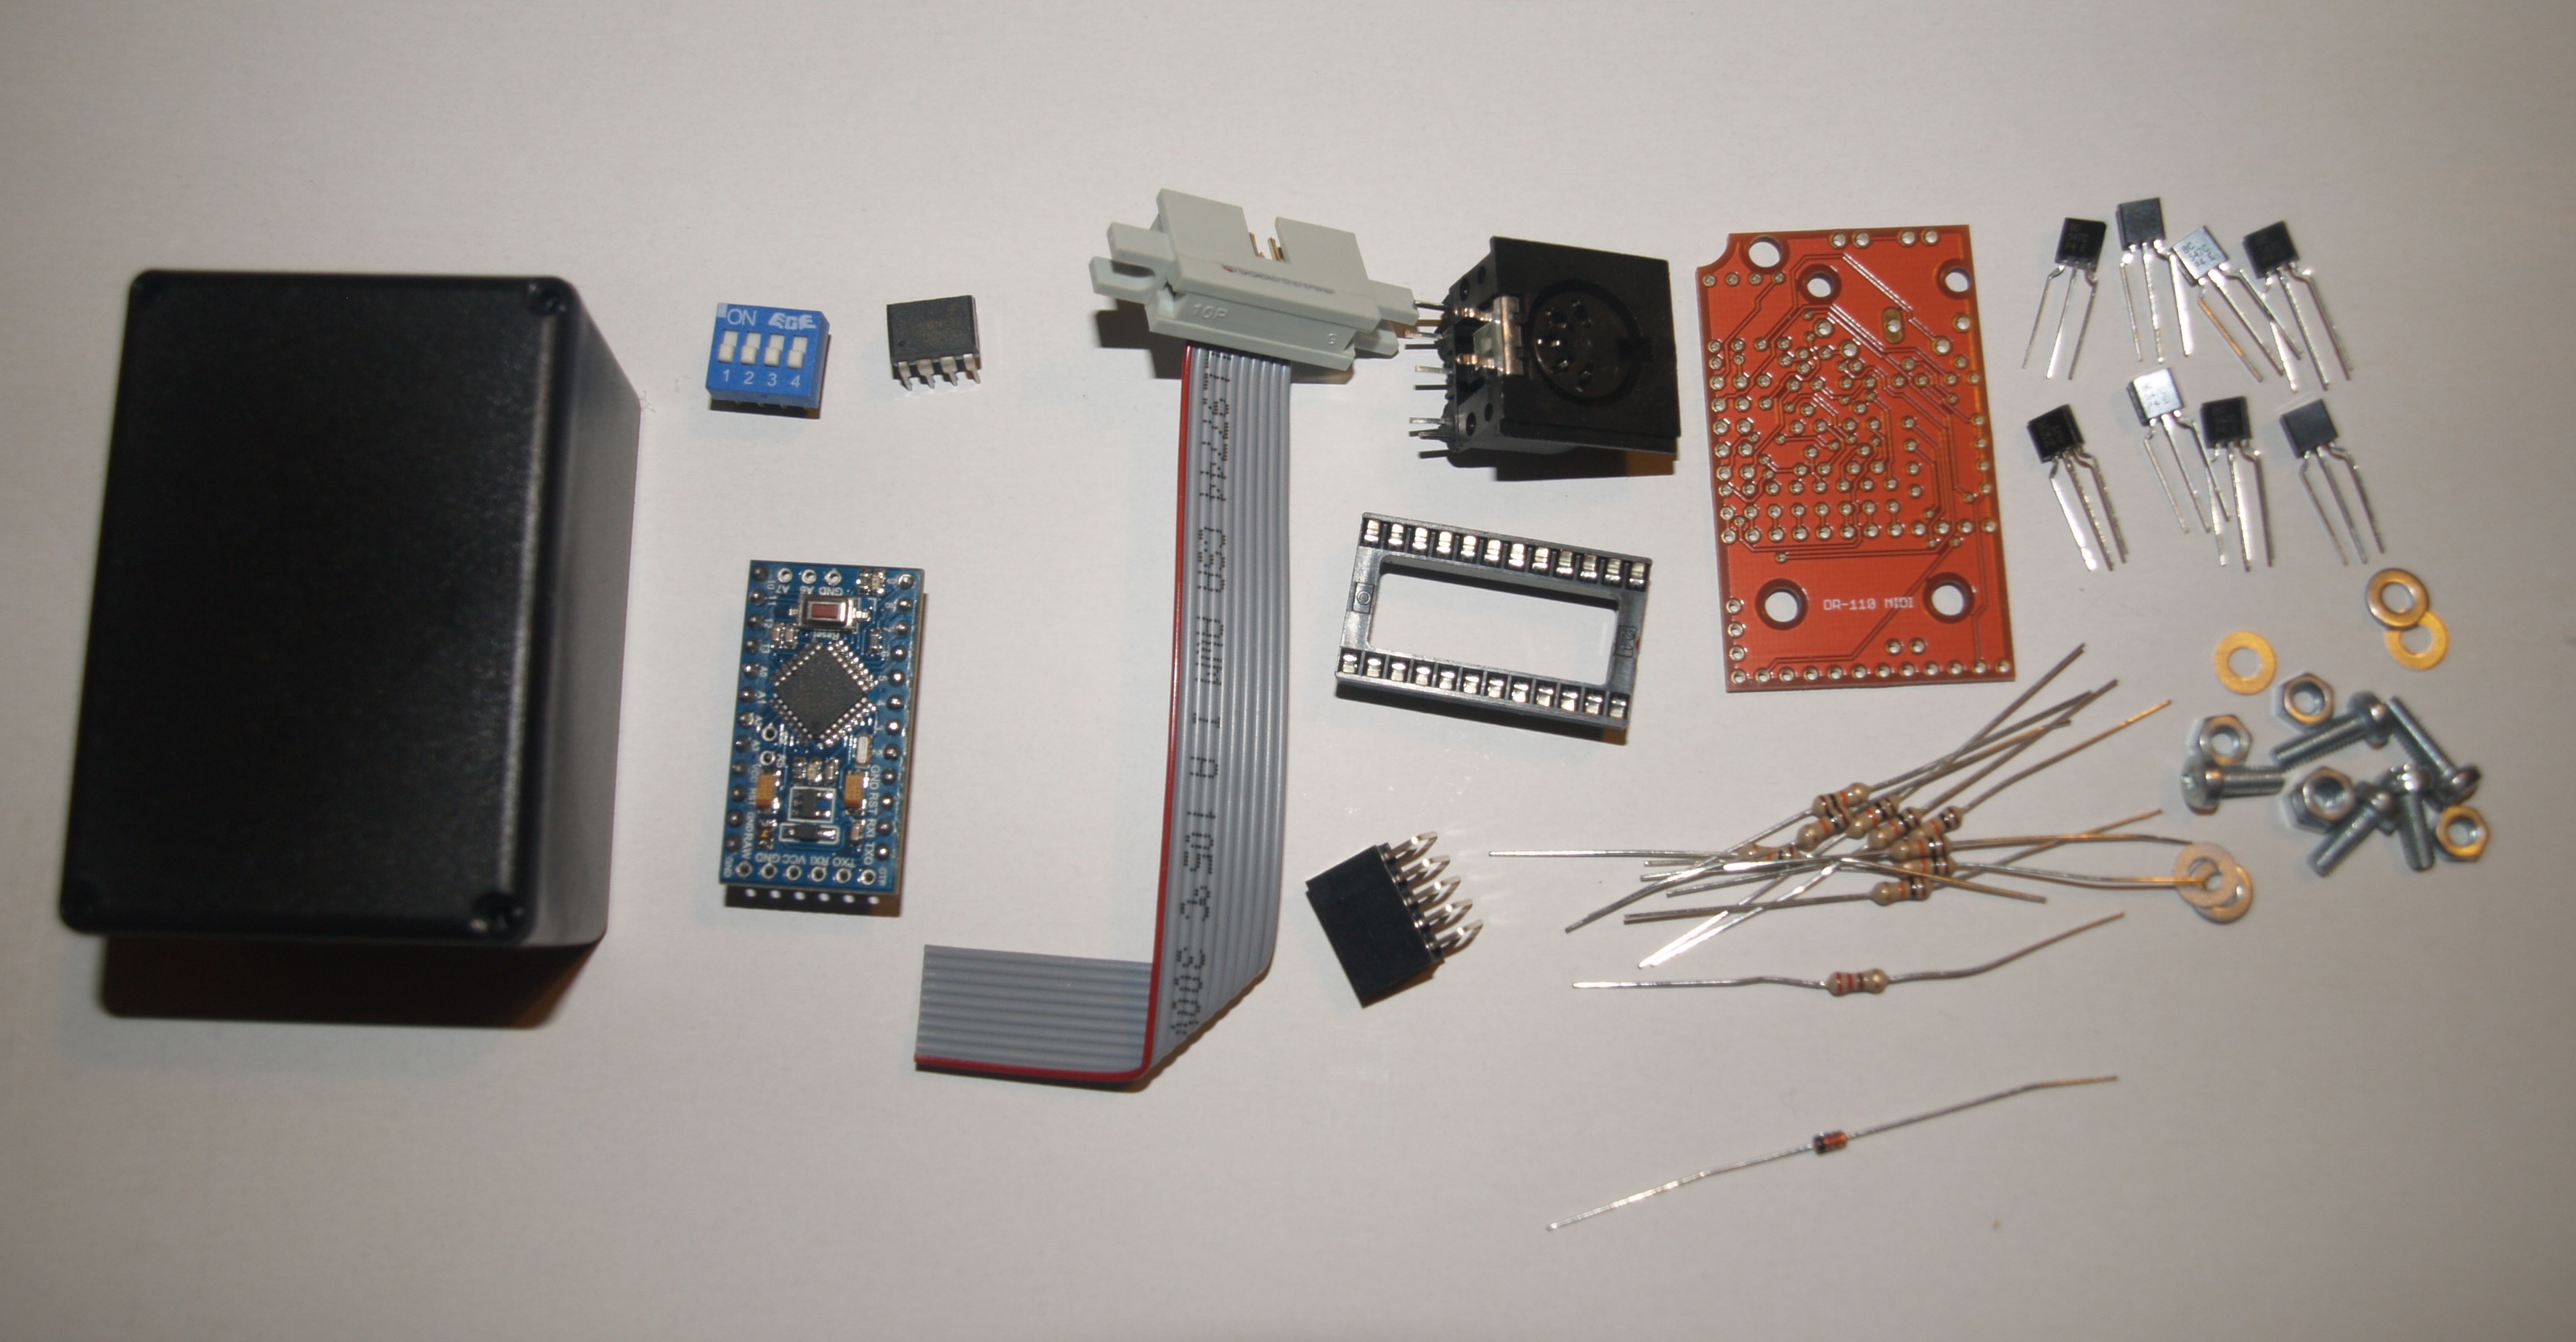
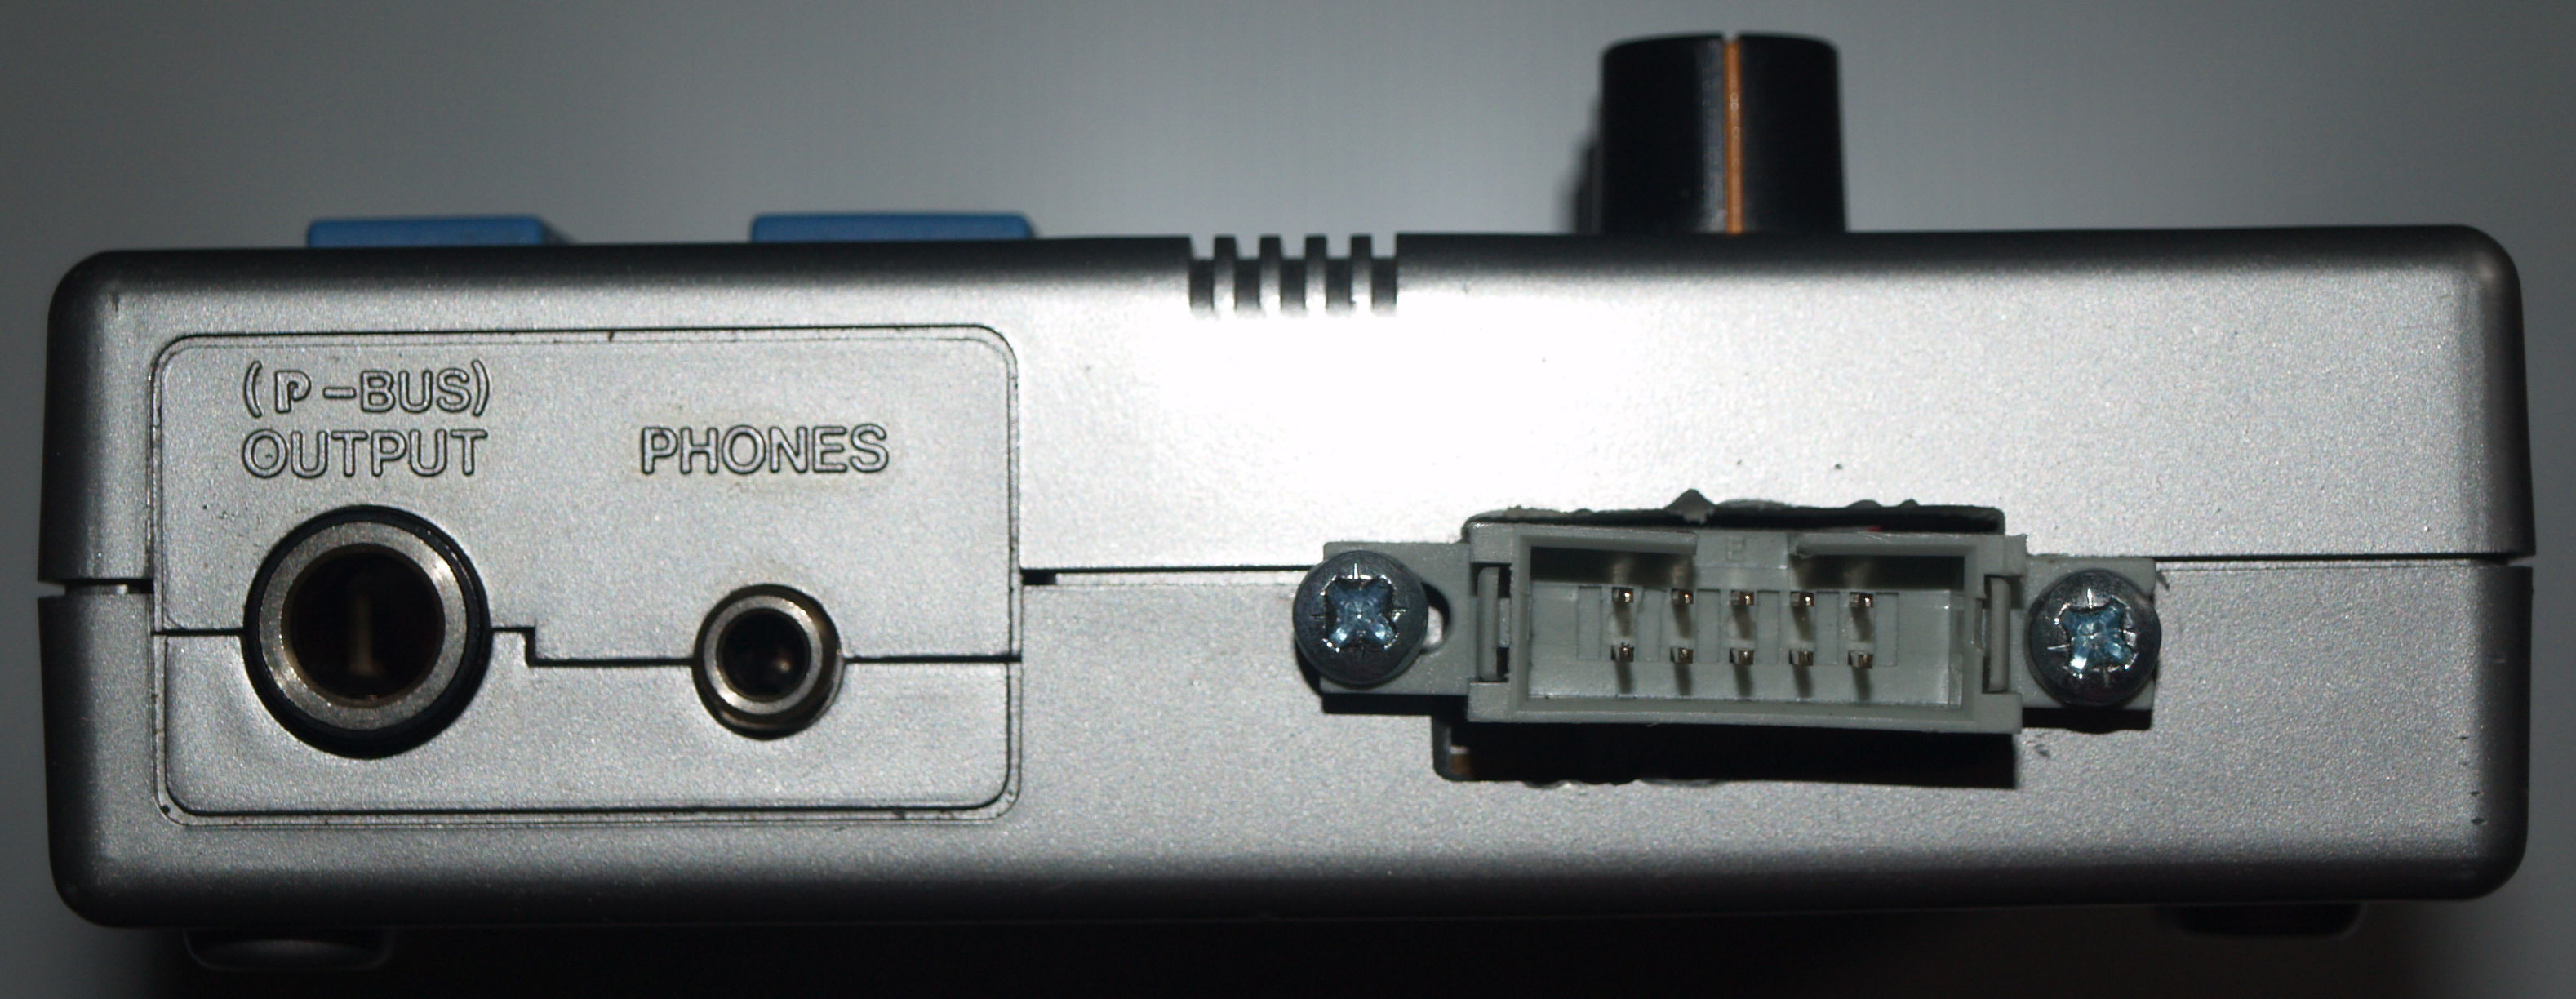
This is a kit for the mod itself and also the connection needed to connect it to the DR-110. The tools required to install this are a screwdriver, soldering iron and a drill and file/rotary tool to make a slot in the case.
The kit is no longer for sale but can be made yourself. The PCBs will be available for purchase shortly.
Purchase PCB + programmed chip
This is only designed with the DR-110 in mind and will probably not work with other drum machines. It may work to some extent if they use negative triggers, but that cannot be guaranteed.
You can find everything you need to make these in the downloads section.
Features
- Per-instrument velocity sensitivity
- Additional sounds (click to play):
- Weak Clap
- Rimshot
- Snare Noise*
- Hat Noise*
- Cymbal Noise*
- Clap Noise* *Plays until noteOff without velocity sensitivity
- Channel assignable by internal switch or CC
- Customisable note-mapping
- Simple user installation
How Do I get One?
- The first step is to order a PCB + chip from Lynxwave via the above link.
- Skip this step if you have ordered the PCB + chip. Manufacture the PCBs from the Gerber files. Then order a USB programmer and Ardunio Pro Mini. There are many different kinds of programmer and Pro Mini and it can be difficult to find a pair that work together. A search for "FTDI" gives fairly good results for the programmer, and Pro Mini units are not hard to find. The trick to getting the right kind is to look for a programmer and an Arduino Pro Mini with a six pin header that reads - (DTR | RXD/TXD | TXD/RXD | VCC/+5V | CTS | GND) - Some of the labels may be slightly different and remember that TX (transmit) needs to be connected to RX (receive). Sometimes, the pins are in a different order and would need to be connected the correct way. As far as I know, the CTS signal is not used. Download the Arduino software and connect the Pro Mini to the computer via the programmer. Then upload the EEPROM code and then the main code.
- Get all the parts together as per the below list.
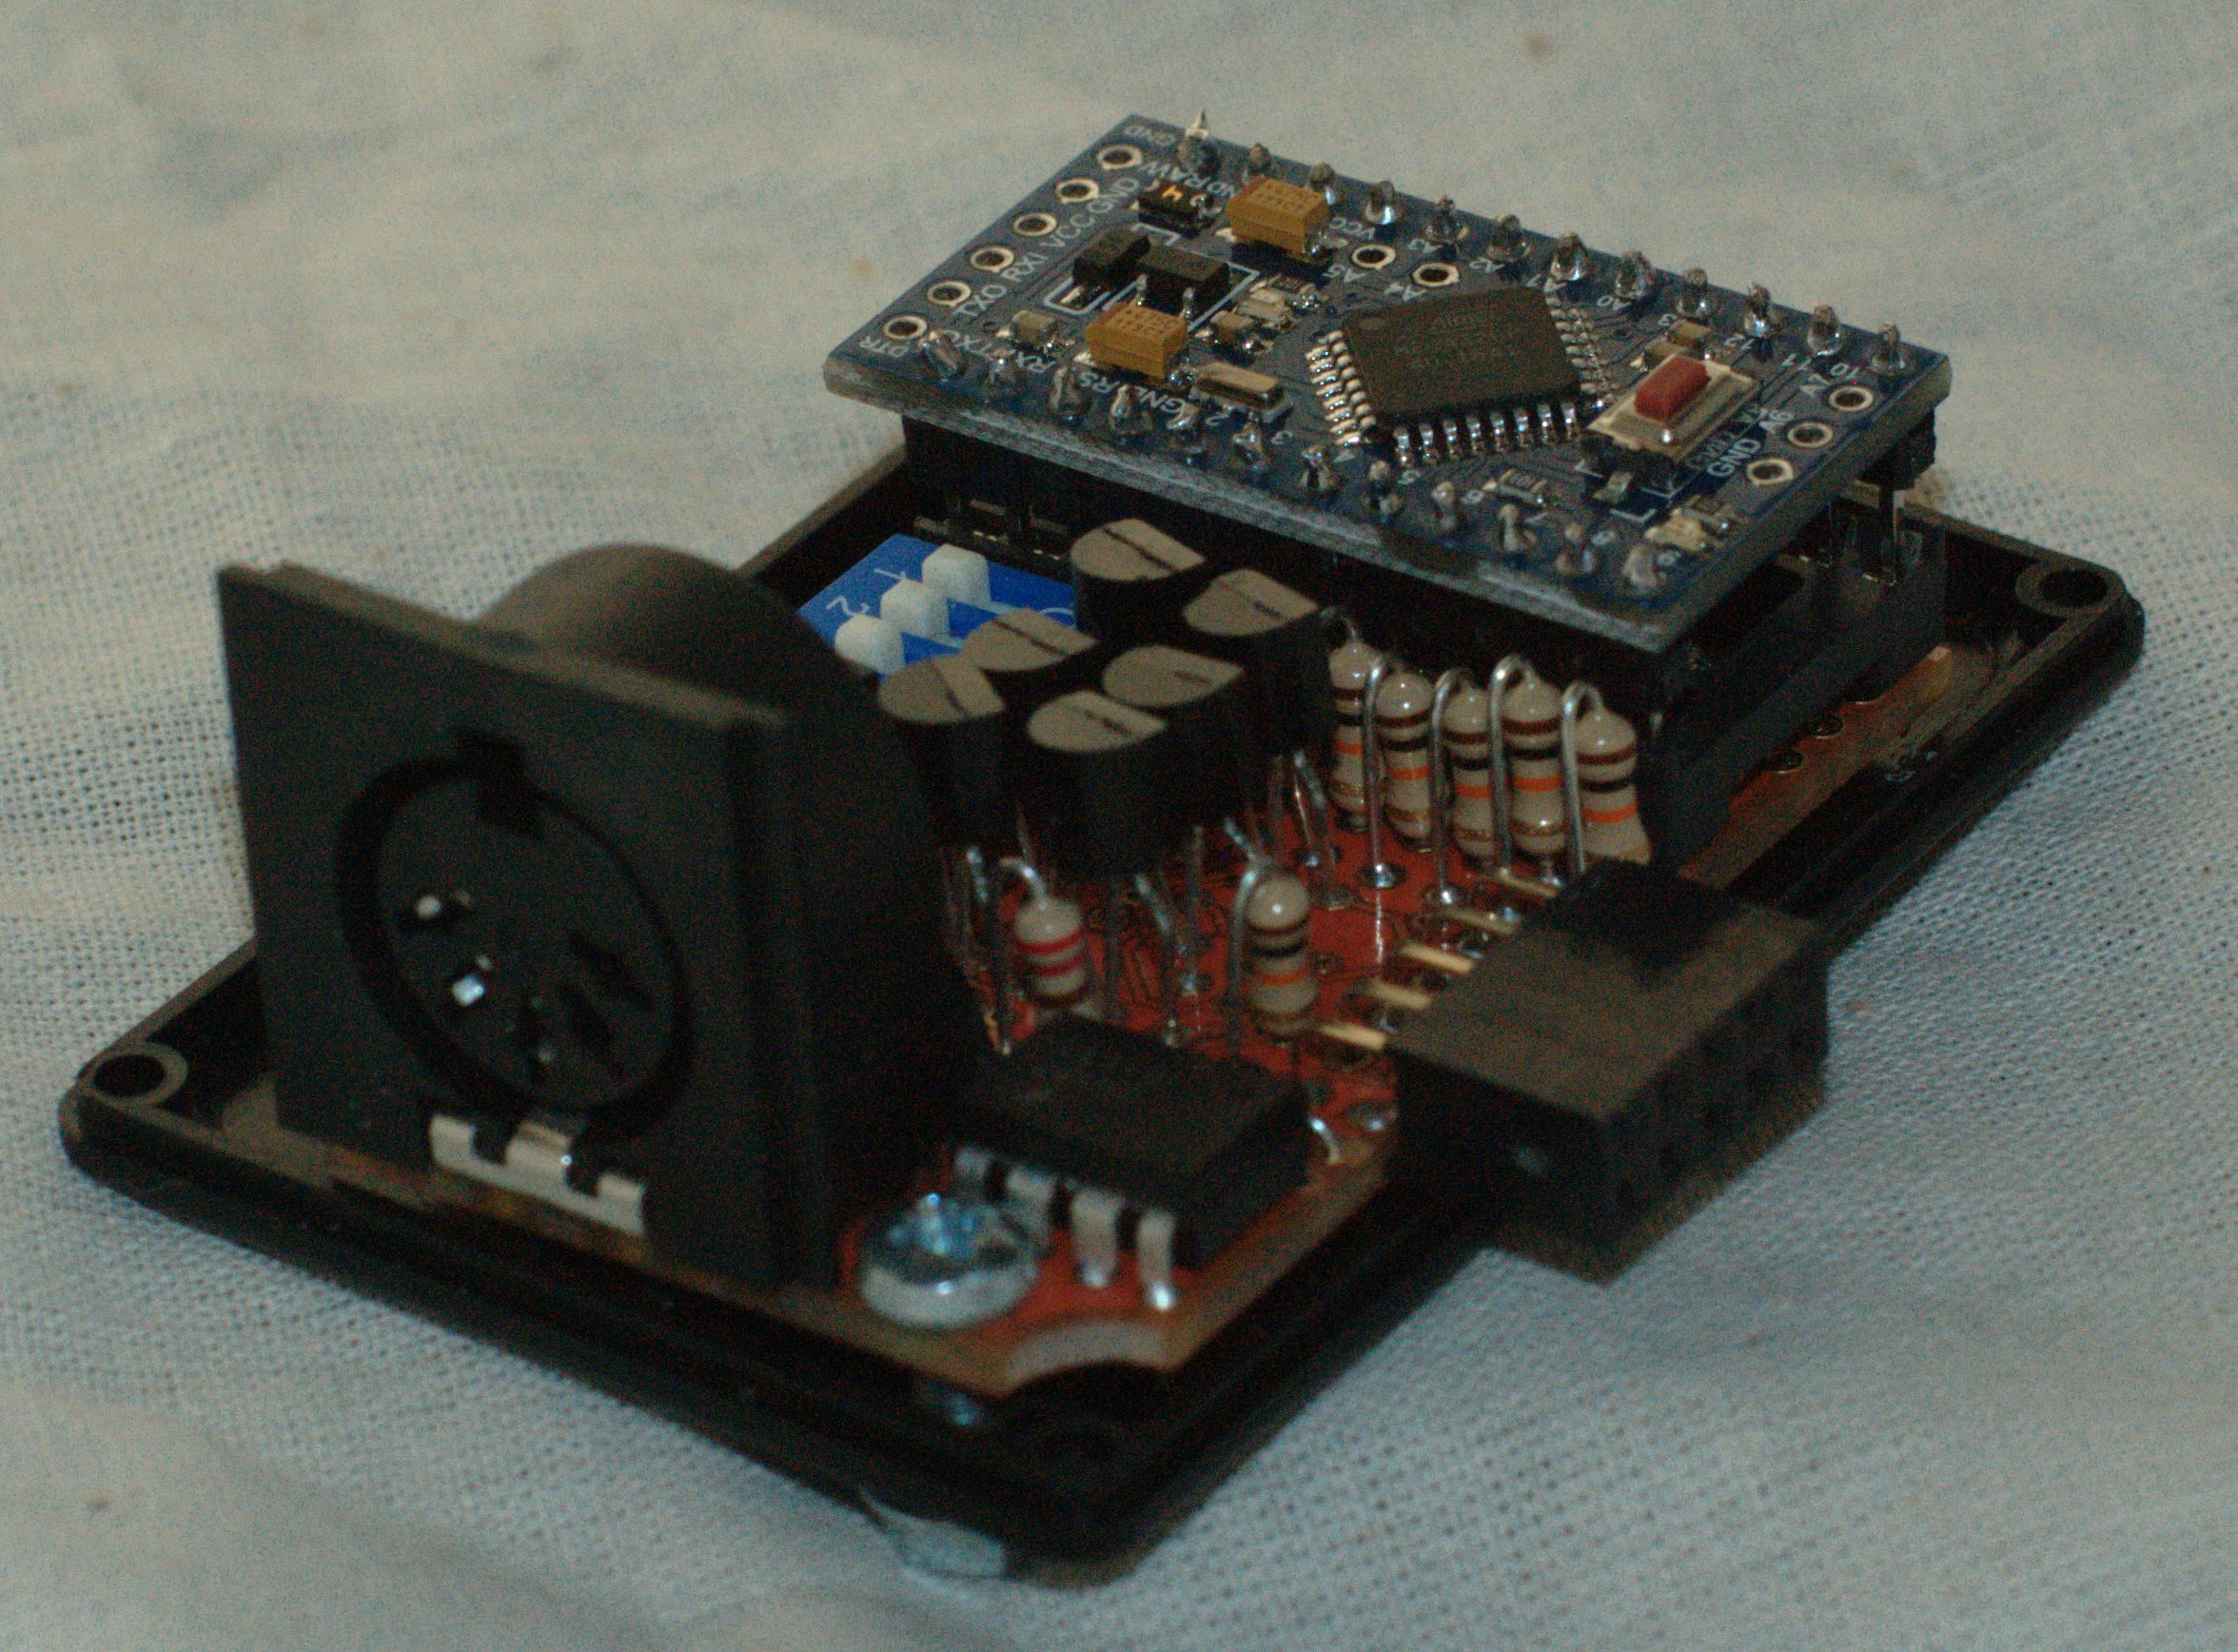
- Populate the PCB following the instructions in the manual and then assemble.
Demos
Demo Track: Each sound with different velocities: A pattern playing with different velocities:Downloads
- Manual
The manual for installation and operation
- Gerber Files
These files define the PCB and are what would be sent to be manufactured
- Main Source Code (Arduino)
The code that runs on the mod. To install this on an Arduino Pro Mini, you will need a cheap USB to serial convert, such as the CP2102 USB to TTL.
- EEPROM Program Source Code (Arduino)
This needs to be programmed first as it sets the EEPROM to the correct vales. (The MIDI note numbers are stored in EEPROM because they are user-changeable.
- EEPROM Reset MIDI file
I have had some reports of the EEPROM becoming corrupted or losing values. This MIDI file factory resets the MIDI note numbers that are saved. The units needs to be on channel 1 for this to work
- Eagle Board File
The Eagle board file which defines how the components are arranged physically.
- Eagle Schematic File
The Eagle schematic files which defines how the components are connected.
- Parts List
Everything required to assemble the unit.